Trusscore Wall&CeilingBoard is scratch, dent, and damage-resistant, but accidents can happen, and — although it’s highly unlikely — you may find yourself in a situation where you need to replace a panel.
Not sure how to remove a panel and install a new one? This two-minute video walks you through the process step-by-step with visual aids. If you’re looking for detailed written instructions, keep reading.
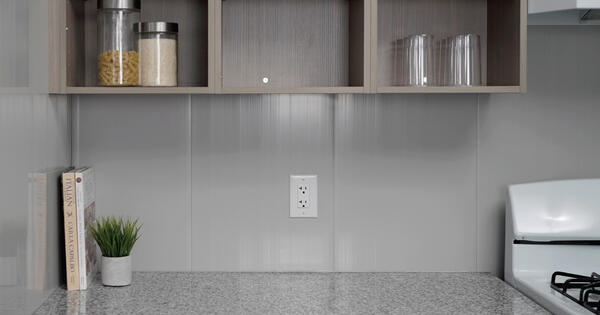
Replacing a Trusscore Wall&CeilingBoard panel is simple
- In the unlikely event a Trusscore Wall&CeilingBoard panel is damaged, you can replace it without taking apart your entire installation
- To get started, watch a two-minute video or follow the 11 steps outlined below
- Once complete, your wall will look good as new

What tools and materials do I need to replace a Trusscore Wall&CeilingBoard panel?
The list of tools and materials you’ll need to replace a Trusscore Wall&CeilingBoard panel isn’t much different than the list you used during your initial install. You’ll need:
- A handheld circular saw
- A power drill
- A tape measure
- Tin snips
- A putty knife
- Clear or white silicone
- A Trusscore Wall&CeilingBoard panel that matches the length of the panel you’re replacing
Once you’ve acquired these items, you’re ready to replace the damaged panel.
What steps should I take to replace a Trusscore Wall&CeilingBoard panel?
In order to replace the damaged panel, you first need to remove it. To begin:
- Set the depth of the handheld circular saw to ½" to match the thickness of your Trusscore Wall&CeilingBoard panel.
- Using the saw, cut through the center of the damaged panel parallel to the panel joints.
- Quick tip! Stop cutting as you approach the ceiling, floor, or wall. Using a putty knife, carefully remove the panel from the trims. Once complete, you can continue cutting the remaining panel at each end.
- Slide the side of the panel with the tongue out of the adjacent panel.
- On the groove side that remains, make another cut 3/8” away from the panel joint in the same direction as the previous cut.
- Tilt the adjacent panel out of the way and remove the screws from the damaged panel.
With the screws removed, you’ll be able to take the panel off the wall. Once the damaged panel is out of the way, it’s time to move on to installing the replacement:
- Cut the screw flange off the new panel as close to the panel body as possible. We recommend using your tin snips for this step.
- Lift the tongue of the adjacent panel on the wall and apply a ½" thick bead of silicone along the stud behind it. During this step, you’ll also have to apply a smaller ¼" thick bead of silicone directly on top of the tongue of the same panel.
- Quick tip! If you’re using a backer, we recommend applying silicone along the back of your replacement panel as well.
- Using a putty knife to pry open any adjacent trims, insert the tongue end of the replacement panel first. Then, simply place the groove end of the replacement panel on top of the tongue of the adjacent panel.
- To make sure the panel is securely in place, apply moderate uniform pressure along the seam of the replacement panel and the adjacent panel where the silicone was used. If you’re using a backer, apply the same pressure across the face of the replacement panel as well.
When the new panel is in place, wipe away any excess silicone from the joint to complete the repair, and your wall will look good as new.