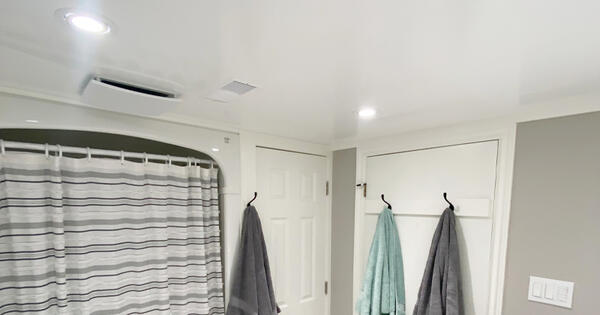
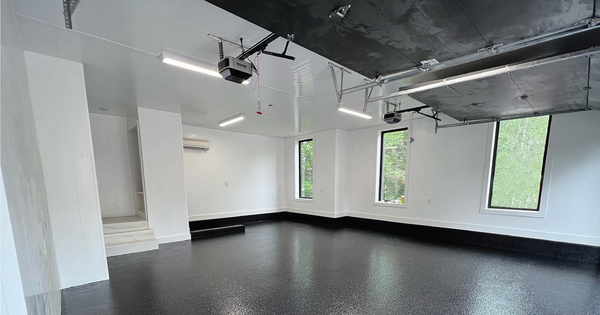
When giving a bathroom a makeover, most homeowners opt for drywall on the walls and ceilings and traditional finishes like plastic liners or tiles for their shower. But what if there was a waterproof solution that worked for both your bathroom and shower walls so you could create a uniform and minimalist finish covering every inch of your bathroom? Good news – there is! In this blog post, we share step-by-step instructions on waterproofing shower walls with Trusscore Wall&CeilingBoard for a functional, aesthetic upgrade that spans your entire bathroom.


Trusscore Wall&CeilingBoard and Bathroom Applications
While drywall proves its worth in living rooms, dining rooms, and bedrooms, it falls short in high-moisture areas like bathrooms. After all, drywall sheets are made from paper cladding and gypsum, which are highly absorbent materials. Exposed to the constant overspray from showers, splashing from bathtubs, or condensation from hot running water, it's just a matter of time before drywall exhibits unmistakable signs of water damage — staining, bubbling, sagging, or bulging. Left unattended, it will inevitably grow mold or mildew, requiring repair or complete replacement.
To ward off bathroom water damage, say “goodbye” to drywall and “hello” to Trusscore Wall&CeilingBoard. Made from PVC, pre-finished Trusscore panels are tailor-made for residential bathrooms because they’re 100% moisture and water resistant. Not only are they a breeze to clean with household cleaners, but they’re also easy to install with a watertight seal.
And if you’re installing Trusscore Wall&CeilingBoard in your bathroom, you can skip out on buying extra materials like one-piece plastic liners or using tile and grout by extending the panels into your shower, too.
How to Install Trusscore Wall&CeilingBoard in a Shower Enclosure
Waterproofing shower walls with Trusscore Wall&CeilingBoard requires a slightly different approach than a traditional Trusscore installation:
-
Start by installing a waterproof membrane like a plastic vapor barrier on top of the substrate behind your shower walls and ceiling.
-
Install a backer material like a cement board on the walls and ceiling where you’ll fasten Trusscore Wall&CeilingBoard.
-
Before inserting any panels into the trim, install your J Trim around the perimeter of your shower. Run a small bead of silicone along the inside of the front-facing edge of all installed J Trim. The bead of silicone should be no thicker than a string of yarn.
-
Following the steps outlined in the Trusscore Wall&CeilingBoard Installation Guide, start installing panels from the inside corners of the shower and work outwards. We recommend installing Trusscore Wall&CeilingBoard vertically to help with drainage.
-
When installing each panel after the first, run a small bead of silicone along its tongue. Again, the bead of silicone should be no thicker than a string of yarn. Insert the tongue into the previous panel’s groove. Press the panels firmly together and wipe up any extra silicone.
-
When all Trusscore Wall&CeilingBoard panels are installed, run a small bead of silicone along the seam of the J Trim and along any corners for a secure and watertight finish.
And that’s it! You’re ready to finish the rest of your bathroom renovation — your shower walls and ceiling are covered.
Download Trusscore Shower Technical Guide
Need more detail? This guide provides steps on how to install Trusscore Wall&CeilingBoard panels in a shower enclosure to create a waterproof shower with a stylish design.


