Estimate the cost of your Trusscore project and get a detailed material list you’ll need to place your order.
Trusscore Cost & Materials Estimator
Let's make a plan!
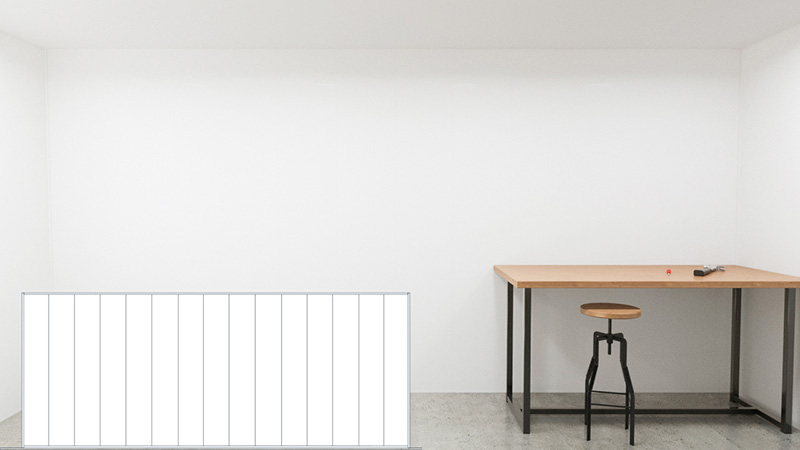
Choose what products you'd like to use in your design.
Complete all selections above to proceed to the next step!
Or Start Over
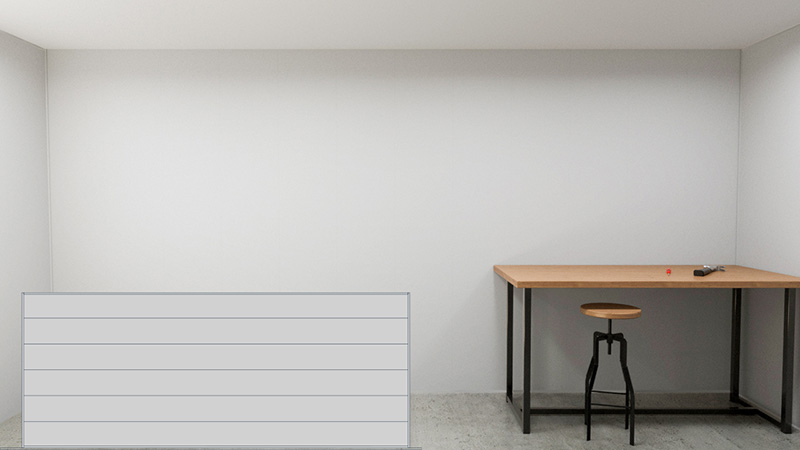
Complete your space with a finished ceiling.
Add bright white or a cool gray hue to to your ceiling to bring a unique design element to your space.
Choose the dimensions that best fit your project OR enter your own dimensions below.
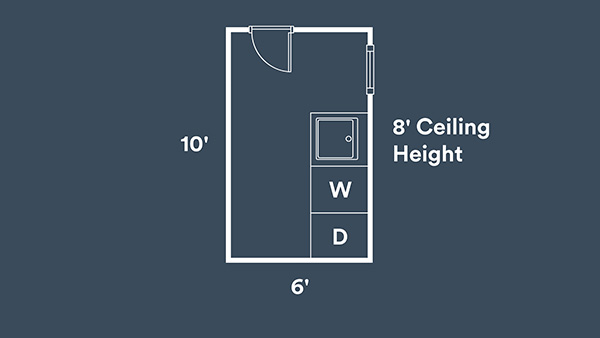
6' X 10' X 8'
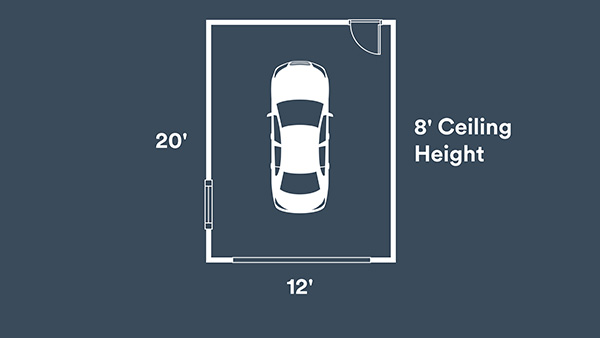
12' X 20' X 10'
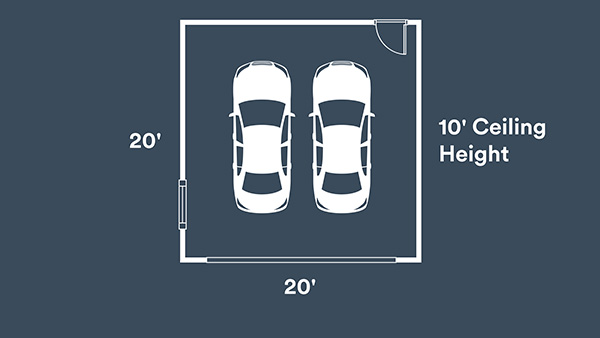
20' X 20' X 10'
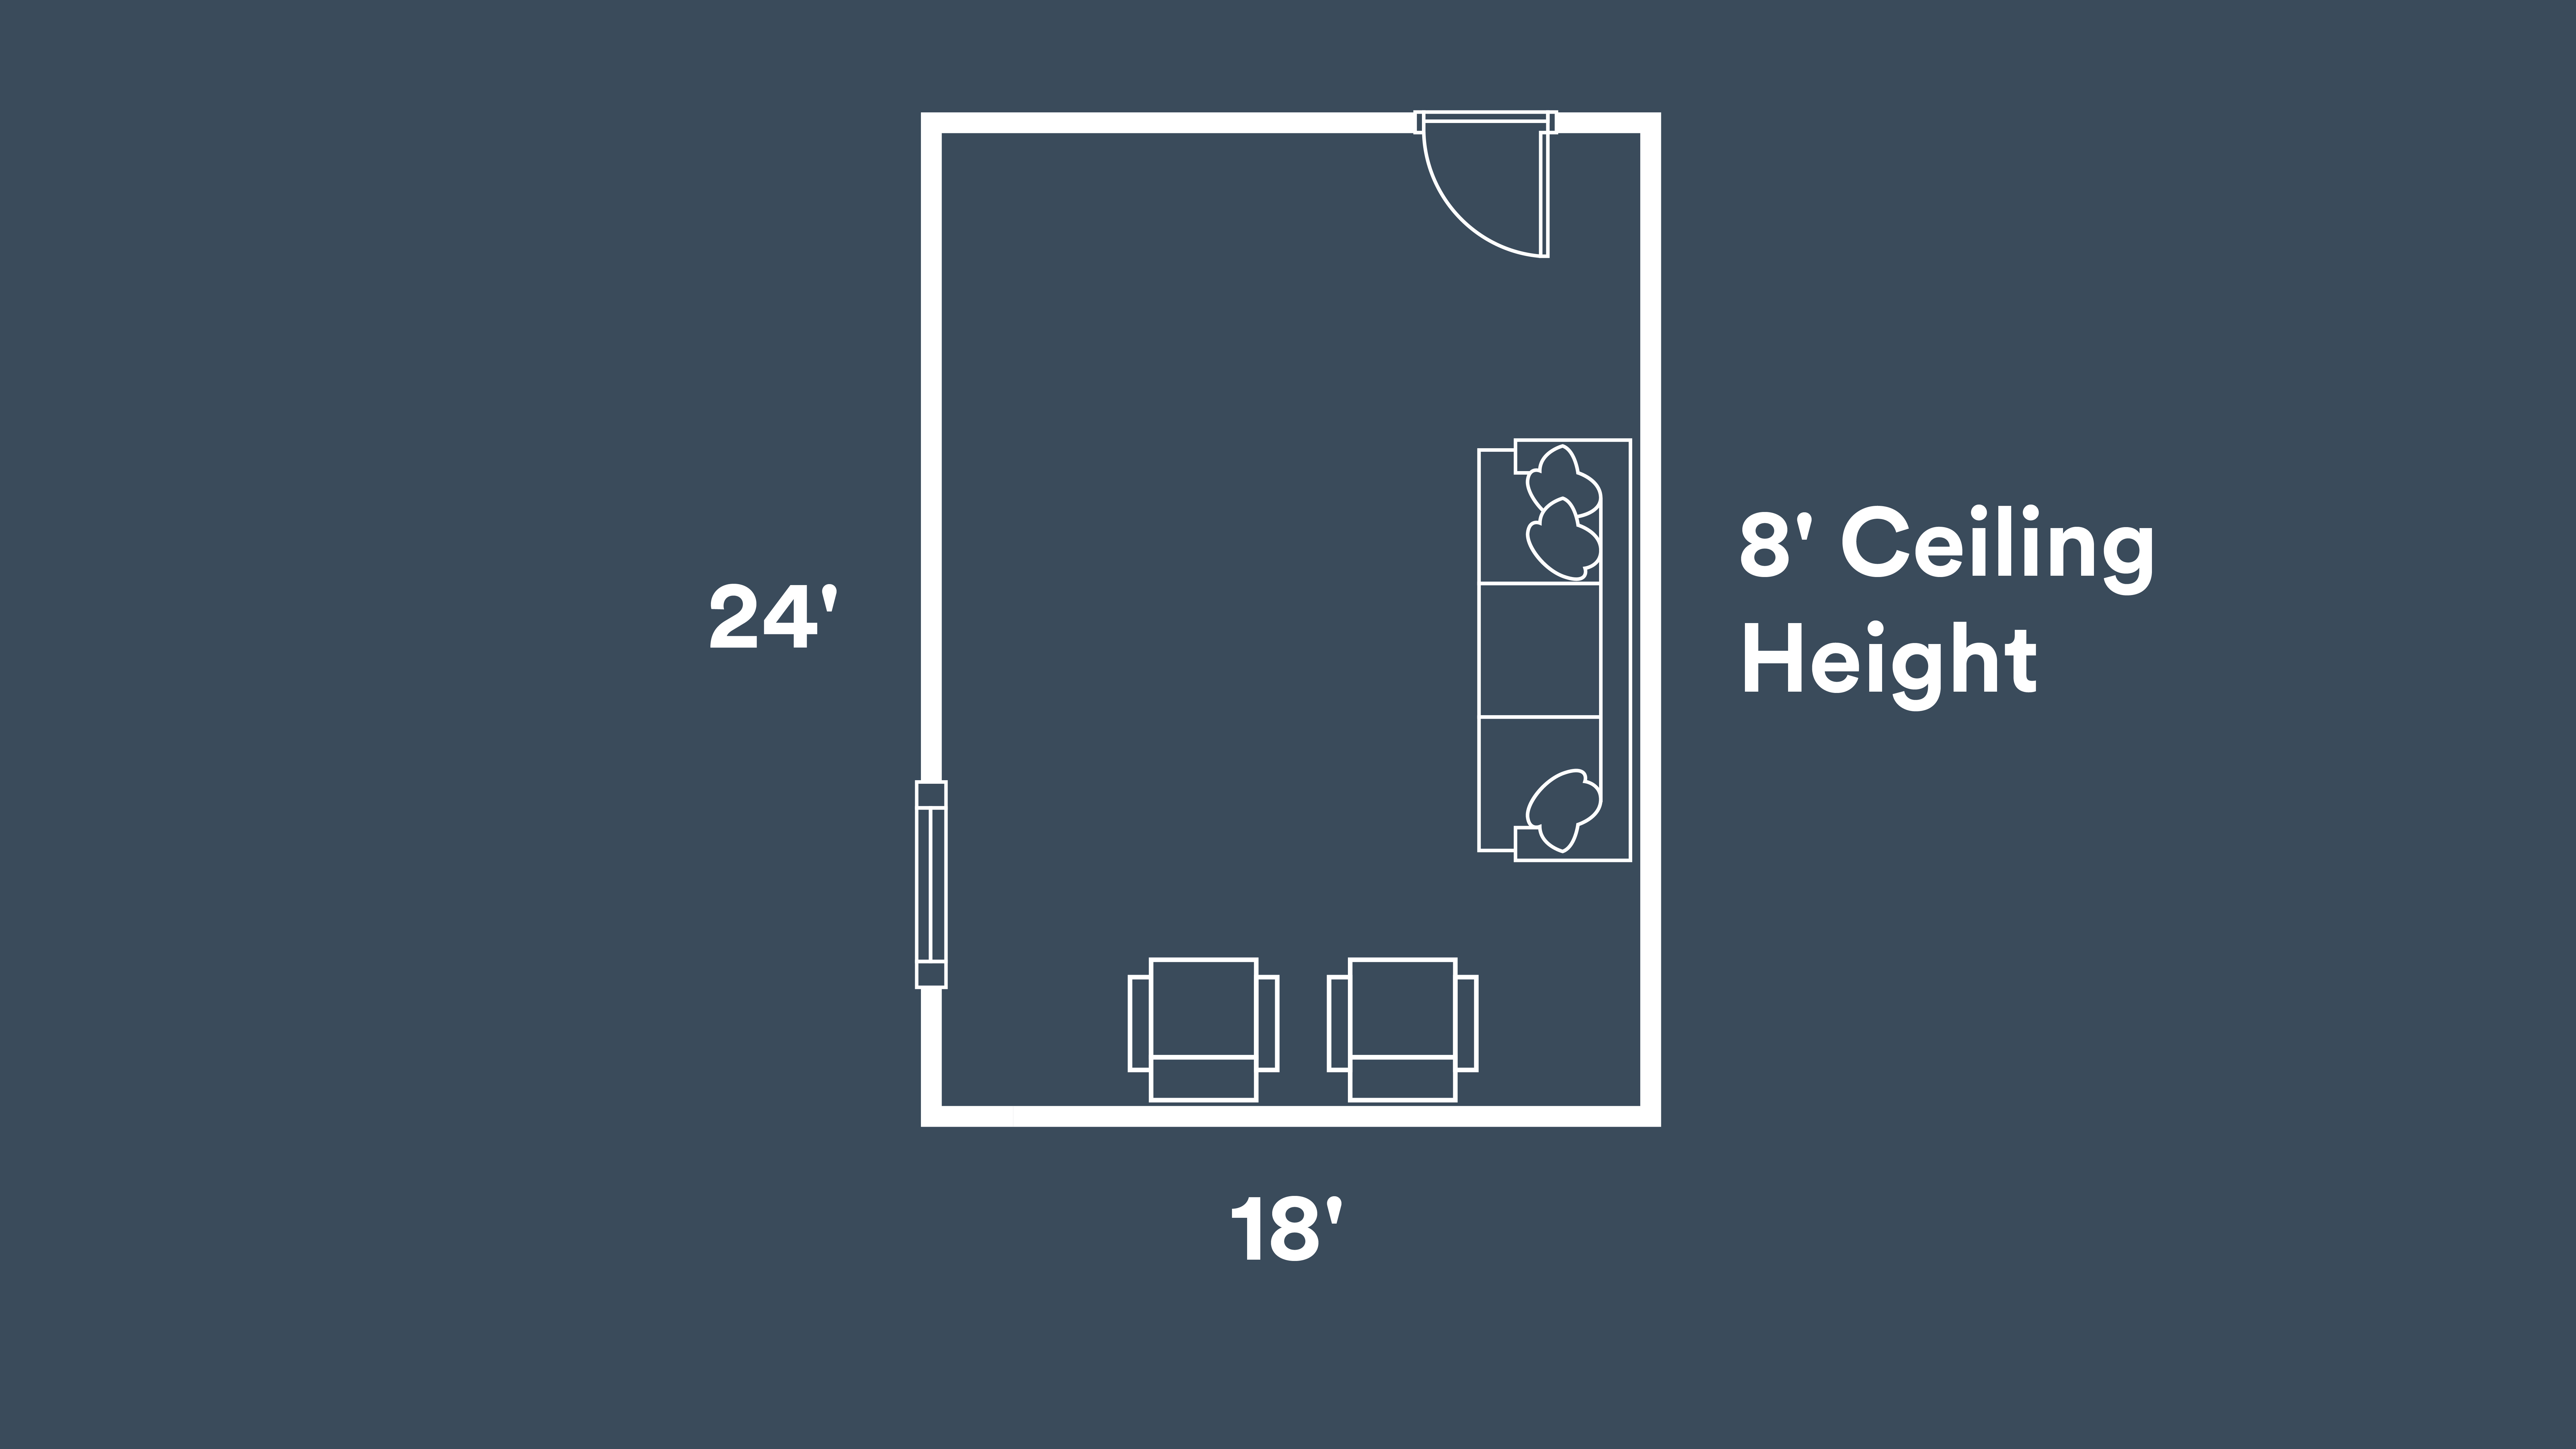
18' X 24' X 8'
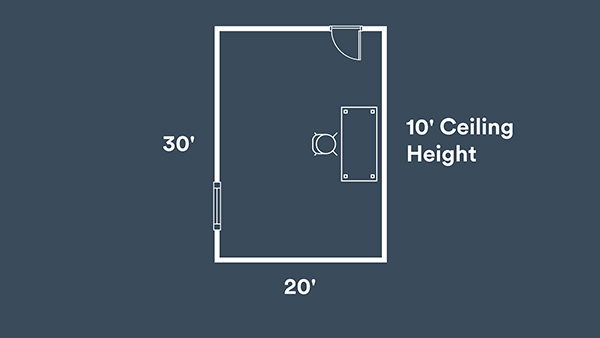
20' X 30' X 10'
Or set your dimensions manually:
When inputting your dimensions, the length should be the measurement across the ceiling joists. This is important when calculating your material estimate because Wall&CeilingBoard should be installed perpendicular to ceiling joists.

What type of space are you working on?


Budgetary Material Estimate*:
*Based on your project size, you may be eligible for a volume discount. Contact a Trusscore retailer for special pricing.
*ESTIMATE DISCLAIMER: Material list calculated from your Project Planner inputs. Actual product quantities required may differ.
Estimate based on average national pricing for reference. Not a guaranteed price; for estimation purposes only. Labor not included.

Your Material Estimate Selections:
Budgetary Material Estimate: ZZZZ
Dimensions, ' W x ' L x ' H | Wall Color, | Wall Orientation,
Coverage, xxx | Ceiling Color, xxx
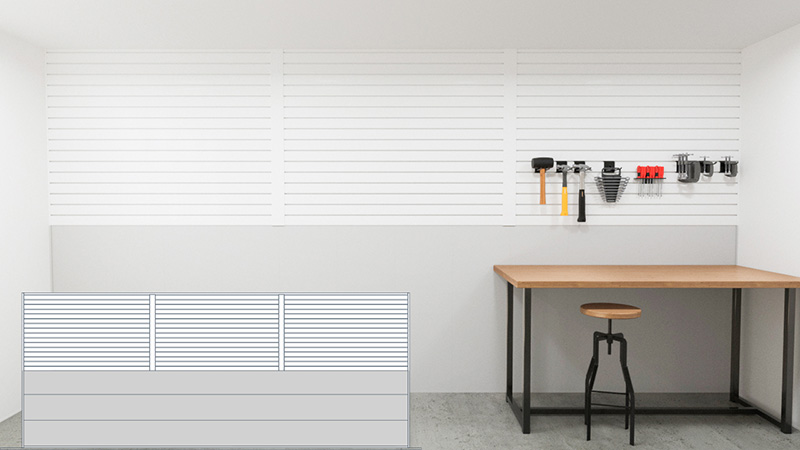
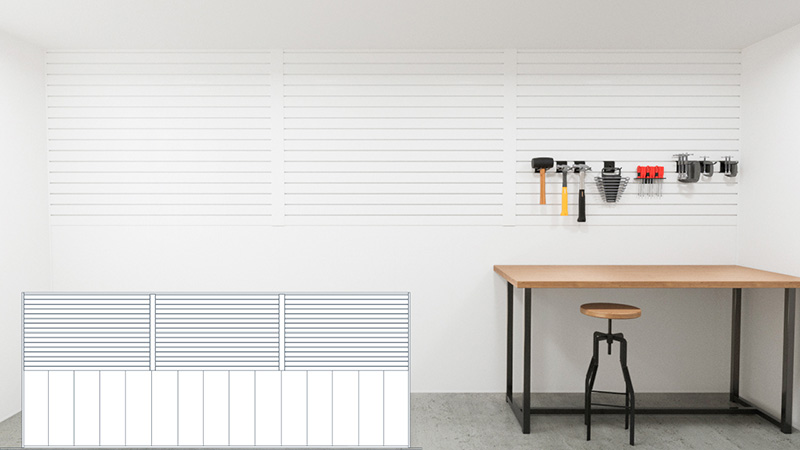
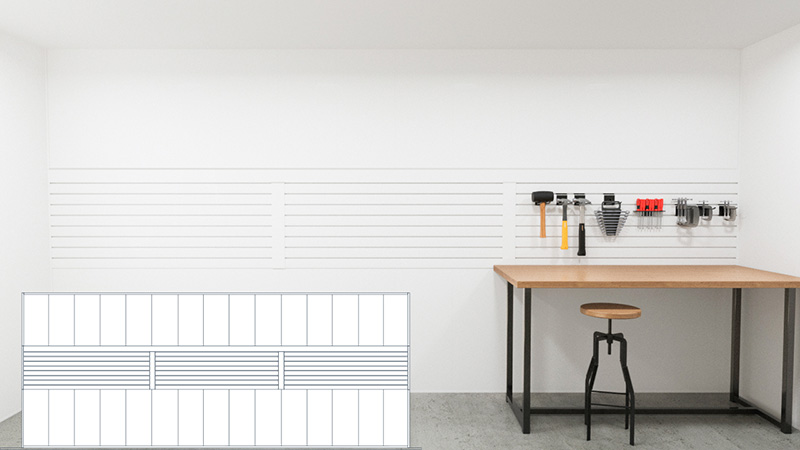
SlatWall Coverage, ZZZZ | SlatWall Colour, ZZZZ
Want to get a detailed material breakdown for your project?
Click the button below and fill in your contact information to see your customized Trusscore project plan with a detailed list of materials you’ll need.
Get My Detailed Materials Breakdown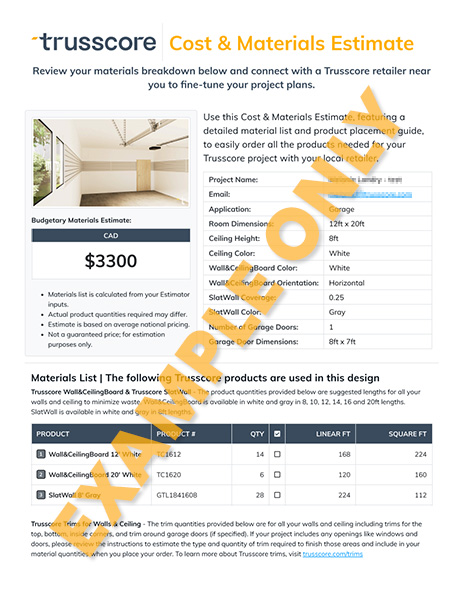

See for Yourself
The best way to see and feel the quality of our materials is in person. Compare Trusscore samples to get a better sense of the color and style suited for your next project.
What Our Customers Are Saying
⭐⭐⭐⭐⭐
"Just finalized my order to finish my garage with Trusscore. Can't wait for it to be delivered. It will save me $11,000 as a DIY over hiring out drywallers."
Chris L.
San Diego, California, U.S.A
⭐⭐⭐⭐⭐
"I finished my 30x38 garage all in Trusscore and I could not be more happy with the results! I am a union carpenter for 36 years now and I love this stuff! No more maintenance forever!"
Rejean J.
Sudbury, Ontario, Canada
⭐⭐⭐⭐⭐
"I put Trusscore in my garage. It's so nice and clean and durable. It really is an upgrade from anything else I have ever used. I love it. Great product."
Rick P.
Moosomin, Saskatchewan, Canada
⭐⭐⭐⭐⭐
"Two guys, 3.5 hours to do a 24x24 garage, including four walls and a ceiling. Done by noon!"
David L.
Hall's Harbour, Nova Scotia, Canada
⭐⭐⭐⭐⭐
"We did our 30x40 wood shop with it, and it was a great price when you figured in taping and painting. Seven years later it looks great!"
Joan C.
Calgary, Alberta, Canada
⭐⭐⭐⭐⭐
"I love this product and how simple it is to install! It was the best purchase for my garage!"
Jason C.
Charlo, New Brunswick, Canada
Get Inspired with Real Project Photos
The Trusscore Inspiration Gallery shows some of the creative and classic ways Trusscore customers have used our products in their space.
Simply input your application and whether you want to include Trusscore Wall&CeilingBoard, Trusscore SlatWall, or a combination of both products in your search. We’ll pull up real customer photos that match your search criteria to help you get inspired for your very own Trusscore project.