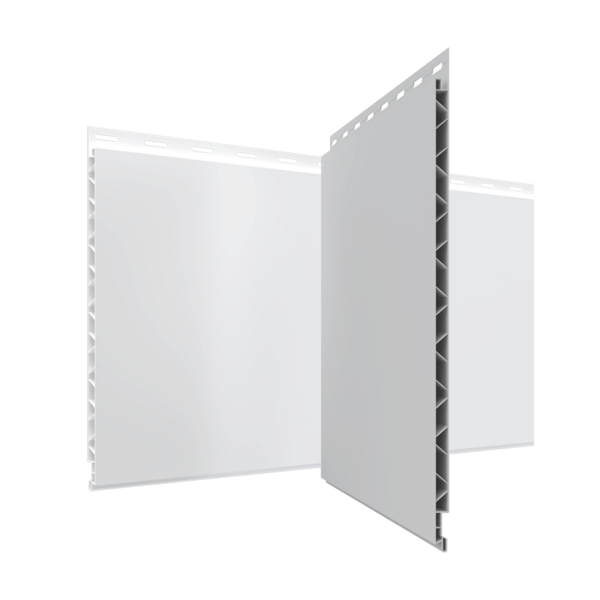
Trusscore Wall&CeilingBoard panels are intended to be installed in an environment where the panels have been acclimatized to a temperature between 10° and 20°C (50° and 68°F). For advice on how to safely acclimatize your panels, watch the video below or continue reading.
The first step in acclimatizing Trusscore Wall&CeilingBoard is to move it into the project area.
Small projects typically involve the handling of individual panels, but larger product quantities are often palletized and wrapped. In any case, you’ll want to loosen or remove any packaging material that could restrain the product while it's acclimatizing, allowing it to expand or contract freely.
You’ll also want to make sure to rest the product on a clean, flat, level surface to help eliminate any warping or damage while the product acclimatizes. If your panels are on a pallet, we recommend leaving them on it while acclimatizing. If you can, ensure that panels aren’t exposed to the sun — prolonged sun exposure can cause the exposed panels to expand differently than those that were kept in the shade.
Once you’ve placed the panels in an ideal location within the installation area, leave the product for at least 24 hours to give it enough time to acclimate to its new environment.
Special Considerations to Make When Installing Trusscore Wall&CeilingBoard in Colder Temperatures
For installations below the recommended temperature range of 10° to 20°, you should still acclimatize the panels for 24 hours following the same instructions listed above. However, there are a few extra special measures to take to prevent the panels from becoming permanently deformed or damaged from temperature fluctuations or colder temperatures:
- Seam spacing. When installing in temperatures below 4°C or 40°F, insert a nickel between the seams of all panels before you secure them to create additional seam spacing. When installing in temperatures between 4°C/40°F and 10°C/50°F, insert a dime. This will allow appropriate space for the panels to expand when the product warms up.
- Spacing at panel ends. Increase the spacing allowed at the end of panels from the typical ¼” to 3/8”. If you’re joining panels at the ends, the H Channel Snap-In Trim kits have a wide face trim and are perfect for covering the extra gap required.
- Cutting panels. In temperatures below 5°C or 41°F, we recommend cutting panels slower, as the edges are more susceptible to chips and cracks. Perform a test cut before starting your installation to understand how the panels will perform during cutting.
- Cutting trims. In temperatures below 5°C or 41°F, trims will also need to be cut much slower as flanges will become more susceptible to cracking. Where possible, use tin snips for cutting trims to avoid the possibility of cracked or broken edges.
Trusscore Wall&CeilingBoard panels can also become more brittle in temperatures below 15°C or 59°F, and direct impact can lead to product damage. When installing the panels in cold weather, be sure to handle them with care.
Do you have other questions about installing Trusscore Wall&CeilingBoard panels? Check out our Installation Hub for other helpful resources and guides or visit our FAQ page to find answers to other common installation questions.
Wall&CeilingBoard
Trusscore Wall&CeilingBoard is an interlocking, interior PVC wall and ceiling panel that is lightweight, low maintenance, and outperforms alternative products like drywall and FRP.
Learn More


