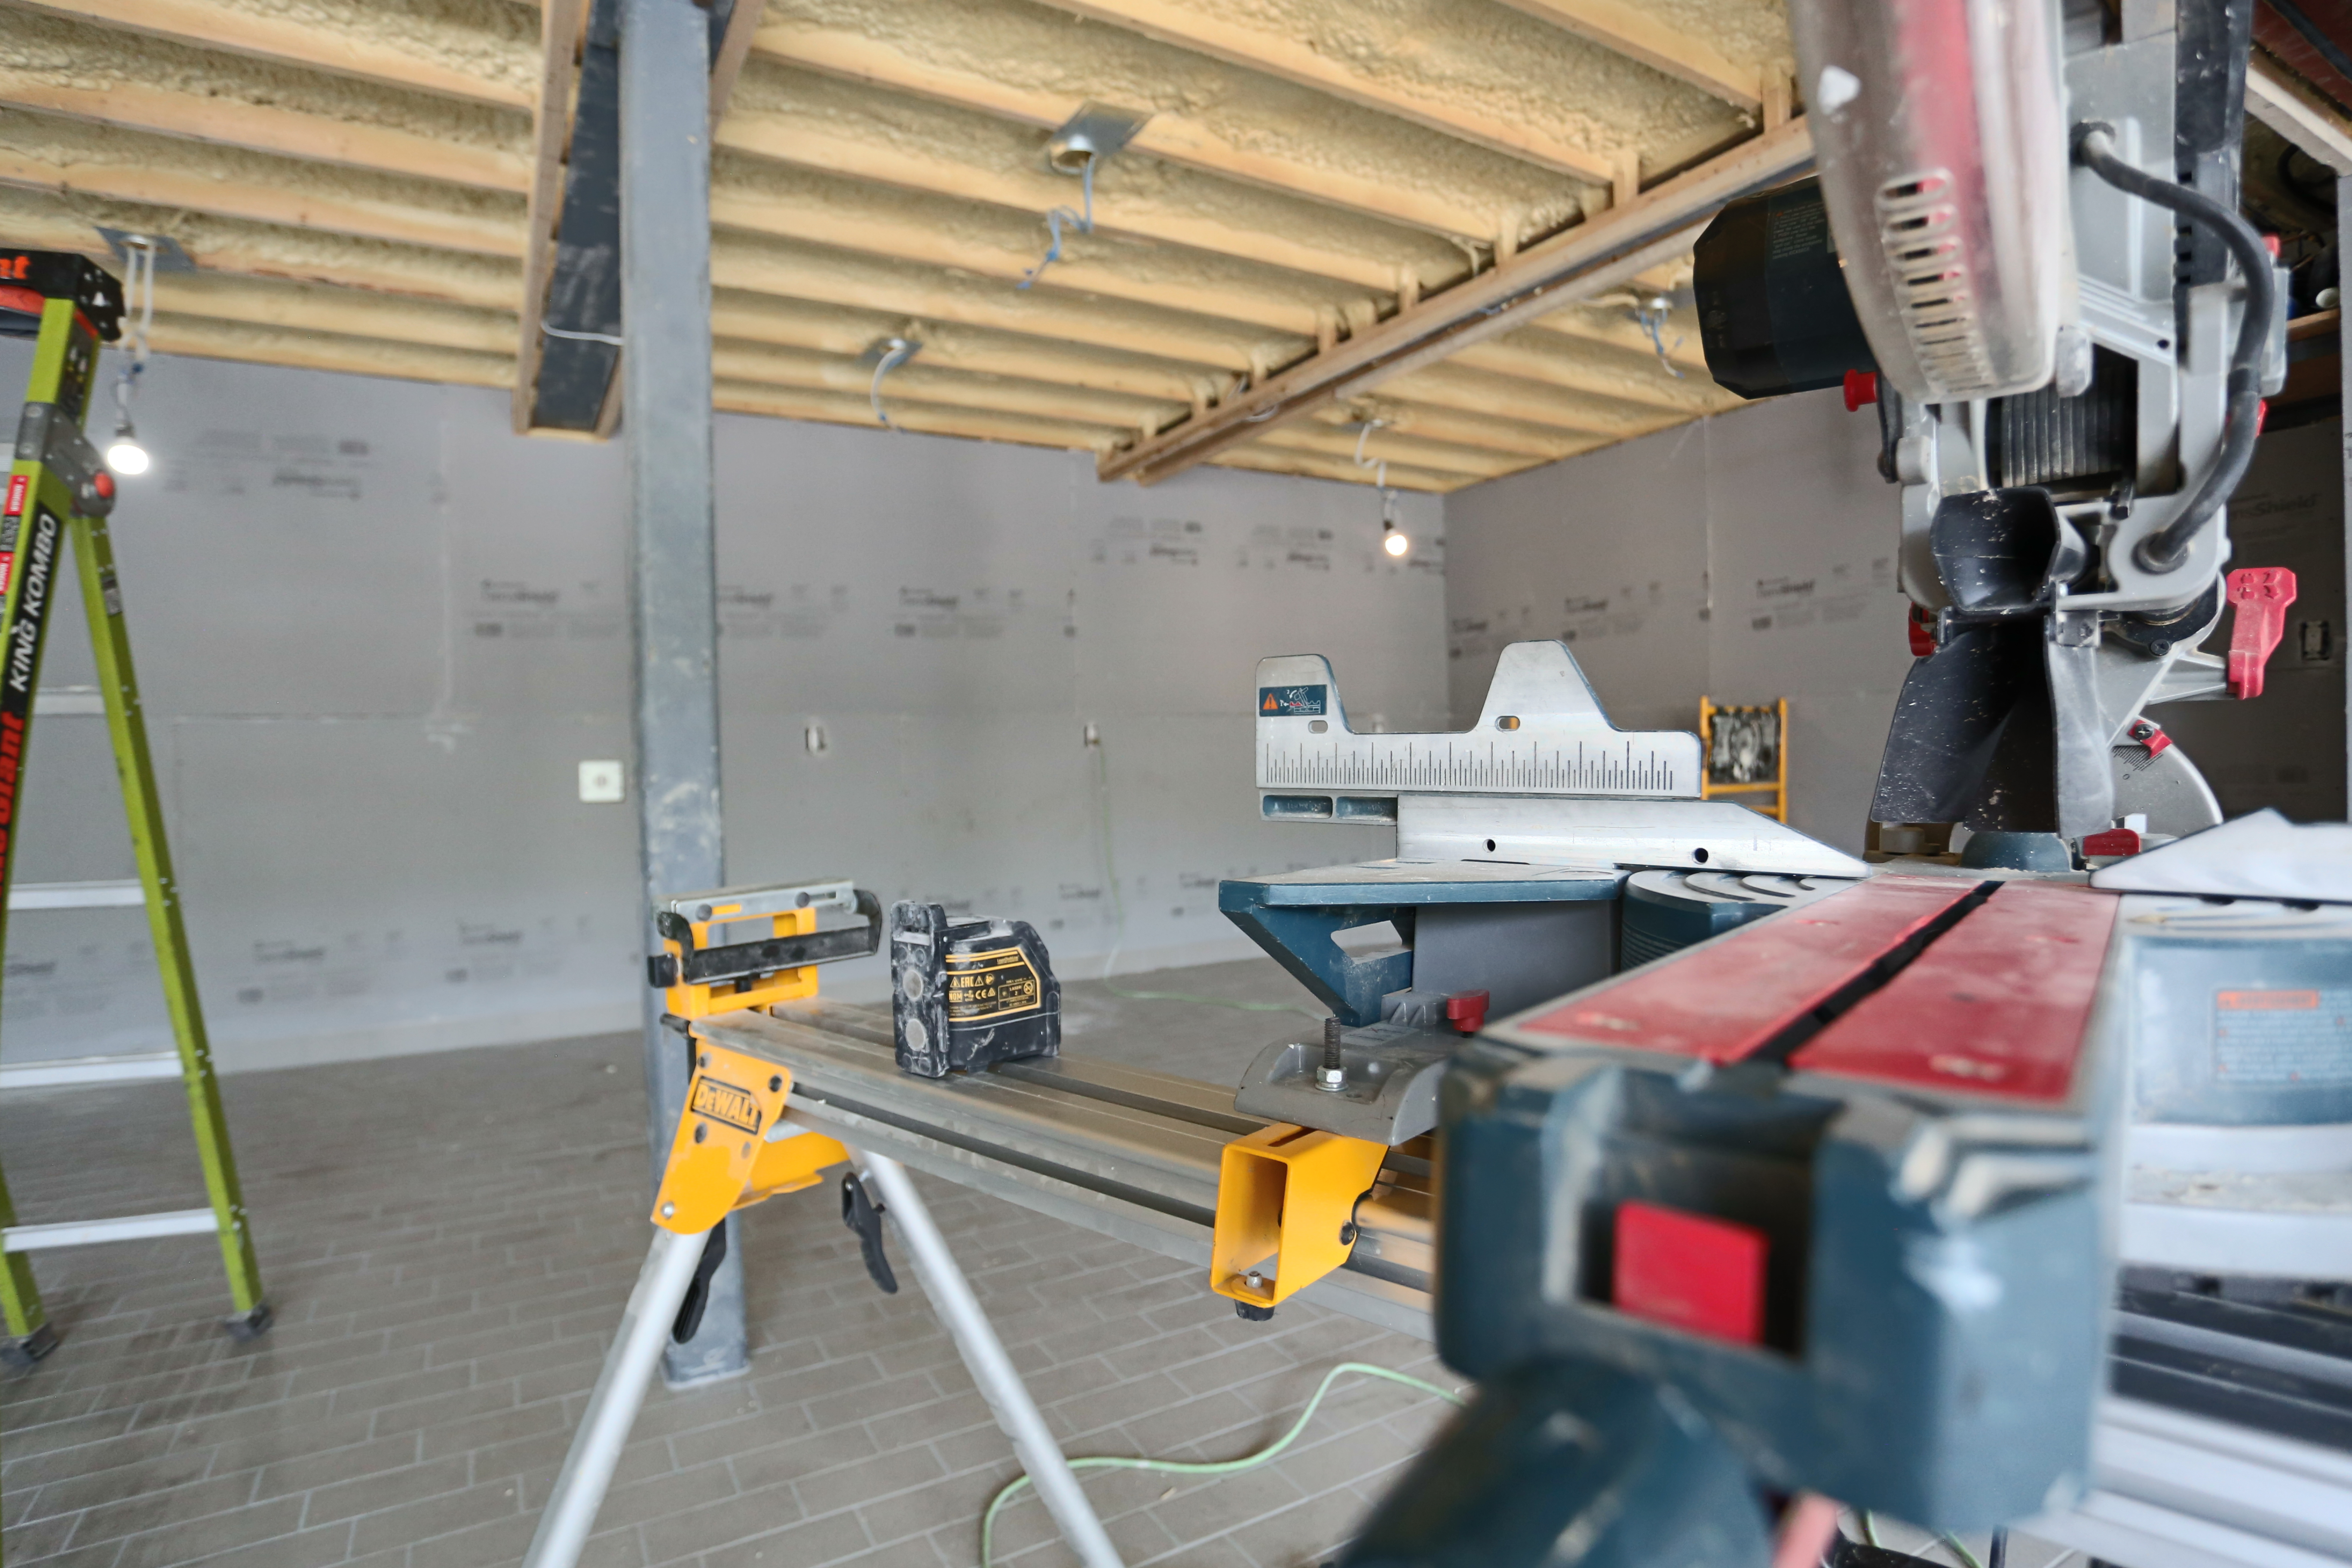
The installation of any product goes smoother when you have the right tools. A Trusscore installation requires just seven common tools to achieve a successful installation.
Tools of the trade
- Trusscore products are designed and engineered to install quickly, by professionals and DIYers alike
- Seven common tools that are found in almost every toolbox are all that’s needed for a successful installation of Trusscore Wall&CeilingBoard
- A ‘how to install Trusscore’ — tools edition
Trusscore Wall&CeilingBoard was designed to be installed quickly and easily, so much so that anyone – professional and do-it-yourselfer alike – can successfully complete a project.
Just a few common tools are required before you begin. Let’s have a detailed look at the tools that you likely already have on hand, and their purpose, for your installation. There are seven required tools in total:
- Drill/Screw gun
- Tape measure
- Tin snips
- Handheld power saw
- Level
- Putty knife
- Utility knife
Drill/Screw gun
Screws are used to affix trims and Trusscore Wall&CeilingBoard panels to your wall. Rather than use a screwdriver, a drill fitted with the correct screw bit, or a screw gun, will significantly speed up your project (and save your wrist a workout).

Tape measure
It is almost certain that you will need to cut some, if not most of the panels you are installing. A tape measure will ensure those cuts are accurate in both length and width so the panels fit snug, but also allow for the necessary space for expansion and contraction.

Tin snips
Tin snips, which are usually used to cut sheet metal, are ideal for cutting trim cleanly and easily.

Handheld power saw
A miter saw or handheld skill saw with a fine-tooth blade installed in the reverse direction is the perfect way to cut Trusscore Wall&CeilingBoard panels to length quickly and cleanly.
Level
The first wall panel serves as a guide for the rest of the adjoining panels so use a level to ensure the panel is square to the wall.

Putty knife
Sometimes it’s a tight fit to slip the final panel into both trim edges on the ceiling and the floor. The same holds true for the final long vertical edge. A putty knife is helpful to slightly bend the trims and then guide the panel into its resting slot.

Utility knife
A utility knife with a new, sharp blade is what you’ll use to cut the unneeded screw flange off the final panel before slotting the panel into its trim.
And there it is: seven common tools, and you’ll be away to the races with your Trusscore installation. Easy peasy.

 Pro installation tips
Here are a few items to put on your checklist that will ensure your Trusscore Wall&CeilingBoard project is successful:
- Safety first - always wear safety glasses when cutting panels.
- Be sure to acclimatize your Trusscore products in the room where they will be installed for at least 24 hours.
- Don’t overtighten the screws. Leave them a tad loose so the panel can shift slightly if it expands or contracts in the heat or cold.
- Cut each panel ¼ inch short to leave room for expansion and contraction.
For complete installation help, head to our installation page