Retailer Hub

Retailer Hub
Retailer Hub Installation Guides & Resources
Installation Guides & Resources
Have questions about installing Trusscore products? Whether you're looking for step-by-step guides, technical recommendations, or expert tips, we've got you covered.
Trusscore Wall&CeilingBoard
Pre-finished Trusscore Wall&CeilingBoard panels have a tongue and groove interlocking system and pre-punched screw flange, requiring no special tools or skills for installation. Trusscore Wall&CeilingBoard can be installed vertically or horizontally.
Trusscore SlatWall
Trusscore SlatWall panels easily snap together to create a track, section, half wall, or full wall, and seamlessly integrate with Trusscore Wall&CeilingBoard for a floor to ceiling finish.
Trusscore Trims
Trusscore offers a comprehensive assortment of PVC framing, finishing, and specialty trims to meet all project needs. Installation steps vary by trim. The video below features chaptered sections dedicated to each trim.

These are our original one-piece framing trims—they're different from the Snap-In Trims. If you require additional details or install instructions to help a customer, visit our one-piece trims page.
J Trim
½” J Trim and ¾” J Trim are perimeter trims meant for the top and bottom of walls, window and door perimeters, inside corners, and SlatWall framing. ½” J Trim is our most popular trim, and it’s pre-punched for easy installation.
- Place the longer side of J channel against the wall or ceiling (this is the pre-punched side of ½” J Trim)
- Fasten through the holes in the screw flange
- For ¾” J Trim, you’ll have to fasten directly through the trim
- Insert panels into the channel
H Channel Snap-In Kit
H Channel Trim is used for panel joints and product transitions. It’s designed in a convenient two-piece format that snaps together for ease of installation.
- Place the U Channel along the end of your panels
- Fasten with screws through the pre-punched holes
- Continue installing panels on the other side of the U Channel
- Leave a 1/4″ gap on both sides of the U Channel to allow for expansion and contraction
- When finished installing panels, align the teeth on the H Channel piece with the teeth on the U Channel
- Press to snap in to cover any gaps and fasteners
Inside Cove Corner
Use Inside Cove Corner trim for inside corners for both wall-to-wall and wall-to-ceiling finishes. A key feature is that it can accommodate two panels, meaning you only need one trim piece to finish inside corners.
- Install panels for one wall or ceiling to the end where you reach the corner
- Place the long edge of the inside cove corner trim against the opposite wall with no panels
- Ensure the other edge of the inside cove corner is flat against the panels you just installed
- Fasten the trim to the wall with screws through the screw flange
- The channel on the inside cove corner trim is now perpendicular to the wall with panels
Outside Corner Rounded
Use Outside Corner Rounded trim on any outside corner of a wall where two Wall&CeilingBoard panels meet to create a rounded corner. This trim piece has two channels on either side of the corner which will accept the two panels meeting to form the outside corner. It should be installed before the panels.
- Place the square corner side of the trim against the outside corner of the wall
- Fasten with screws on both walls through the screw flange
- The channels on the outside corner rounded trim are perpendicular to each other
- Insert panels on both walls to finish your corner
Outside Corner
Outside corners provide a standard flat outside corner option to neatly complete any wall. Unlike the outside corner rounded trim, this outside corner trim does not have channels to accept panels, so it should be installed after the panels using silicone. Do not use screws when installing this trim.
- Install the wall panels to the edge of the outside corner on both walls
- Run a bead of silicone on the very edge of the surface of the panel (but not on the tongue or groove) along the entire height or length of both walls
- Align the corner of the outside corner trim with the corner of the wall so it is evenly spaced on both sides
- Firmly apply pressure where the silicone was applied
- Use painter's tape to hold the outside corner trim against the wall while the silicone cures to ensure a strong bond
SlatWall Top Cap
Use SlatWall Top Cap only when the top of your SlatWall assembly does not directly transition to Trusscore Wall&CeilingBoard. If installing Wall&CeilingBoard above SlatWall panels, use H Channel Snap-In Trim instead of a top cap. Installing SlatWall Top Cap doesn’t require any screws or adhesives.
- Place the top lip of the SlatWall Top Cap into the groove built into the top of the uppermost SlatWall panel
- Snap the bottom lip of the SlatWall Top Cap into the SlatWall panel
Base Trim
Base trim addresses the transition between wall panels and a concrete floor. It should not be used on sloped floors.
- Before installing any panels, place the long straight edge of base trim against the wall with the small corner edge facing the floor
- Fasten to the wall with screws through the screw flange
- Install panels normally with the bottom edge of each panel extended to the lip of the base trim
- Run a bead of silicone along the bottom of the panels for a more finished look and to ensure water does not get behind the panels at the base
F Trim
F Trim is designed for Trusscore Wall&CeilingBoard applications that include soffit or bulkheads. For RibCore applications, F Trim completes corners.
- Place the long edge of the trim against the wall so the channel is at the bottom and facing away from the wall
- Fasten to the wall through the screw flange
- Place a second F Trim on the opposing wall at the same height as the first F Trim
- The channels of each F Trim piece will now be facing each other
- Install a Wall&CeilingBoard panel between the two F Trim pieces to complete the installation
45° H Channel
The 45° H Channel is a specialized option perfect for instances where two walls or ceilings come together at an angle, including peak ceilings. The 45° H Channel trim has two channels to accept two panels to form the angled corner. It should be installed before the panels.
- Place the long edge of the trim piece against the wall or ceiling
- Fasten with screws through the screw flange
- Insert panels into the opposing channels to finish the angled corner
DockDeck by Trusscore
DockDeck has a pre-assembled Clip Strip fastening system that keeps screws hidden and spaces planks uniformly.
RibCore by Trusscore
Lightweight, corrugated RibCore panels can be cut to size with a hand or power saw and quickly fastened to walls and ceilings.
NorLock by Trusscore
NorLock uses a tongue and groove interlocking system to easily create non-load bearing partition walls and dividers.
Quick Tips
Trusscore designs and manufactures high-performance interior wall, ceiling, and partition systems made from rigid PVC. These products are engineered to replace traditional materials like drywall, plywood, OSB, and FRP in residential, commercial, and agricultural environments.


Technical Installation Guides
Our technical guides provide step-by-step instructions and expert tips to help customers install Trusscore products correctly and confidently. Use these guides to answer questions, troubleshoot on-site issues, and ensure professional results.
Screw Guide
This guide lists compatible scews on the market for customers installing Trusscore Wall&CeilingBoard and Trusscore SlatWall.
Cold Temperature Technical Guide
This guide outlines the special adjustments you need to make if you’re installing Trusscore in temperatures below 10°C (50°F).
Shower Technical Guide
This guide explains on how to install Trusscore Wall&CeilingBoard panels in a shower enclosure for a waterproof finish.
Epoxy Floors Technical Guide
This guide provides installation recommendations when installing Trusscore products in applications where epoxy flooring is also used.
Expansion Joints Technical Guide
This guide provides recommendations for installing expansion joints for Trusscore Wall&CeilingBoard panels in applications with long, continuous runs of 60 or more panels.
Other PVC Trims Technical Guide
This guide explains the compatibility and installation of other PVC trims with Trusscore products for enhanced functionality and aesthetics.
Thermal Barrier Technical Guide
This guide provides instructions for installing appropriate thermal barriers when installing Trusscore Wall&CeilingBoard over foam-based insulation.
Wall&CeilingBoard Backloading Guide
This guide helps determine panel deflection when installing Trusscore Wall&CeilingBoard on ceiling joist spans with different insulation types and R-values.
RibCore Backloading Guide
This guide helps determine panel deflection when installing RibCore by Trusscore on 24" and 48" ceiling joist spans with different insulation weights above them.
Whether you’re a do-it-yourselfer or a professional contractor, our Installation Help page has everything you need to know about installing Trusscore products, including step-by-step instructions for installing Trusscore Wall&CeilingBoard, Trusscore SlatWall, DockDeck by Trusscore, RibCore by Trusscore, and NorLock by Trusscore.
Pre-finished Trusscore Wall&CeilingBoard panels weigh 40% less than drywall and install four times faster. Panels come with a pre-punched screw flange and a tongue and groove interlocking system, making installation a breeze for DIYers and contractors alike. Equipped with a set of basic tools, you can plan to have Trusscore Wall&CeilingBoard installed in a single afternoon instead of days like drywall — plus, there's no mudding, taping, priming, or painting required.
To install most Trusscore products, you'll need a power saw, drill, tape measure, tin snips, putty knife, and silicone sealant (in wet environments only). However, some products will require a few additional or different tools. To see a full list of required tools for a specific product, download the product's installation guide on our Installation Help page.
Trusscore products are intended to be installed in an environment where the panels have been acclimatized to a temperature between 10° and 20°C (50° and 68°F) for at least 24 hours before installation. If you're installing Trusscore products below 10°C or 50°F, review and follow our Cold Temperature Installation Guidelines for best results.
While the recommended maximum service temperature for Trusscore products is 50°C (122°F), we don't have a minimum temperature recommendation.
If you're using Trusscore Wall&CeilingBoard in a high-moisture environment, we recommend installing the panels vertically. During installation, we also recommend applying a bead of silicone inside the grooved end of the panel and inside the entire length of each trim piece. Any kitchen and bath silicone will work. For more information and installation tips, download our Trusscore Wall&CeilingBoard Installation Guide.
To organize your space and attach items to your wall, we recommend installing Trusscore SlatWall. Trusscore SlatWall is a high-strength, on-the-wall storage solution that seamlessly integrates with Trusscore Wall&CeilingBoard panels and can be instantly accessorized with snap-in hooks, baskets, and shelves.
However, we understand Trusscore SlatWall may not meet your specific design needs. If you still want to mount or fasten items directly to Trusscore Wall&CeilingBoard, keep this advice in mind:
- When hanging an item directly on a Trusscore Wall&CeilingBoard panel, items should never be directly fastened without back support.
- Lightweight items (i.e., less than 30 pounds) can be attached directly to Trusscore Wall&CeilingBoard using adhesive hooks such as Command™ Hooks or using spring toggle bolt kits.
- Moderate weight items should be fastened directly to the supporting structure of the wall or ceiling through Trusscore Wall&CeilingBoard. Mounting holes should be slightly oversized to accommodate for expansion and contraction of the panel.
- Heavyweight items should be mounted directly to the supporting structure to avoid crushing your Trusscore Wall&CeilingBoard panels. We recommend cutting away the Trusscore material at the mounting points and then using metal spacers (i.e., stack of washers or nuts) to keep heavy items flush to the Trusscore panels but not crush them.
For more information and installation tips, download our Trusscore Wall&CeilingBoard Installation Guide.
Trusscore Wall&CeilingBoard can be installed with any readily available corrosion-resistant #8/#10 gauge screws with a flat-bottomed, low profile head (i.e., truss head, pancake head, round or washer head, cabinet, and other low profile screws) and a minimum head diameter of 3/8”. We recommend different types of screws for different wall assemblies:
| Wall Assembly | Screw Recommendation | Screw Length |
|---|---|---|
| Wood Stud Drywall Furring Strips/Strapping Plaster |
#8 or #10 truss head, pancake head, round or washer head, cabinet, or other low profile screws. | 1 ¼" 1 ¾" to 2" 2 ½" 2" to 2 ½" |
| Concrete | 3/16” Flathead screw (Tapcon) | 1 ¼" |
| Metal or Steel Studs | Self-tapping #8 or #10 low profile head as above | 1 ¼" |
Stainless steel screws are only required for highly corrosive or moist environments. For specific screw recommendations, visit our Screw Guide. For more information and installation tips, download our Trusscore Wall&CeilingBoard Installation Guide.
When installing Trusscore Wall&CeilingBoard vertically, you'll need to use a screw every two feet of Trusscore panel or trim. When installing Trusscore Wall&CeilingBoard horizontally, you'll need to use a screw on each stud location (usually every 16 or 24 inches).
For more information and installation tips, download our Trusscore Wall&CeilingBoard Installation Guide.
The Trusscore Trusted Installer Program makes it easy to find a local professional to install Trusscore for you. Visit our Find an Installer page to connect with an installer in your area.
Trusscore does not act as a thermal barrier for plastic foam insulation. If building code requires a thermal barrier to surround plastic foam insulation, ensure a suitable barrier is in place before installing Trusscore Wall&CeilingBoard or Trusscore SlatWall.
For more installation information for each Trusscore product, visit our Installation Help page.
When cutting Trusscore Wall&CeilingBoard and Trusscore SlatWall panels to size, we recommend using a saw blade designed to cut vinyl products to avoid cracking or chipping the panels. We recommend using one of the following blades:
| Description | Product Number |
|---|---|
| Dewalt 12" - 80T Precision Trim Saw Blade | DW3232PT |
| AvantiPro 12" - 80T Fine Finish Saw Blade | P128080PP |
| Dewalt 6 1/2" - 90T Construction Saw Blade | DW9153 |
| Makita 7 1/2" - 40T Carbide Tipped Saw Blade | A-90629 |
| Makita 6 1/2" - 44T Carbide Tipped Fine Crosscutting Saw Blade | A-98360 |
| Diablo 7 1/4" - 60T Carbide Tipped Ultra Finish Saw Blade | D0760 |
Alternatively, we recommend installing a standard saw blade in reverse direction. Coarse-toothed blades should be avoided. In cold weather, move your saw through the panel slowly to prevent chipping or cracking. We recommend performing a test cut, if possible, to confirm the performance of your cutting tool.
If you need to cut holes into Trusscore panels for electrical boxes, lights, taps, and more, we recommend using one of these jigsaw, oscillating saw, or hole saw blades:
| Description | Product Number |
|---|---|
| Bosch Basic for Metal-Thin Jig Saw Blade with 17-24 TPI | T118A |
| Diablo Bi-metal General Purpose Jig Saw Blade with 5/10 TPI | DJT345XF |
| Dewalt HCS Clean Cut (Wood) Jig Saw Blade with 10 TPI | DW3760H |
| Milwaukee 3” Diameter Hole Dozer Hole Saw Blade with Arbor | 49-56-9670 |
| Milwaukee Universal Fit Oscillating saw Blade | 48-90-1231 |
When creating a square cut-out, we recommend taking the following steps:
- Measure the location of the opening on the wall.
- Mark the perimeter of your opening on the panel.
- Drill a ½” hole in the corner of the required opening.
- Insert the blade into the hole and proceed to cut out along your marked lines. If you’re making this cut after the panel has been installed, ensure the space behind the area to be cut is free of obstructions, electrical wires, plumbing, and any other object.
For more information and installation tips for Trusscore products, download the product's installation guide on our Installation Help page.
There are several instances in which using silicone with Trusscore is necessary:
- The most common will be whenever there is a presence of water on the panels. The amount of silicone used will differ depending on the application. In applications such as showers for example, a large amount of silicone is required to seal all panel seams, ends, and corners where water can penetrate. Refer to our Installing Trusscore in Shower Applications Guide for more details. An indoor pool, however, might use less silicone since the water is not constantly hitting the walls and you likely will only need to seal the bottom corner to direct water splashes away. Any kitchen or bath silicone will work in these instances.
- In commercial food processing applications. Trusscore Wall&CeilingBoard panels meet Canadian Food Inspection Agency (CFIA), Food and Drug Administration (FDA), and U.S. Department of Agriculture (USDA) requirements for food preparation areas when used on non-food contact surfaces and all joints are sealed with an approved flexible caulking compound, such as DAP Silicone Ultra Kitchen, Bath & Plumbing Sealant in Canada or DAP Commercial Kitchen 100% Silicone Sealant in the USA.
- For adhesion purposes. For example, when replacing a damaged Trusscore panel and fastening with screws is not an option, silicone must be applied to the back of the panel to hold it in place. Also, when installing Outside Corner Square trim, silicone is used to adhere the trim to the Trusscore panels instead of screws for a clean finish.
Each of these instances are unique in their requirements, so refer to our blog post Adhesives & Sealants 101: Everything You Need to Know for information on which silicone to use. Always consult the silicone manufacturer label to determine the best product to use for the surfaces in your application.
Using Trusscore Snap-In Trims makes the last panel straightforward. Install the Universal Base first along all edges before your panels go in. Once every panel is in place, snap the top cap of your Snap-In J Trim or Snap-In Inside Cove Corner into the base last. No prying, no forcing—the last panel slides right in before the cap locks everything in place.
Using one-piece trims? Follow these steps instead.
Following the Installation Guidelines will minimize the number of last-panel situations in your project. When you do reach the last panel, here's how to finish the job.
- Measure the remaining space. Leave a ¼" gap at the top, bottom, and each side of the panel.
- Cut the panel to size, removing the groove (screw flange) side.
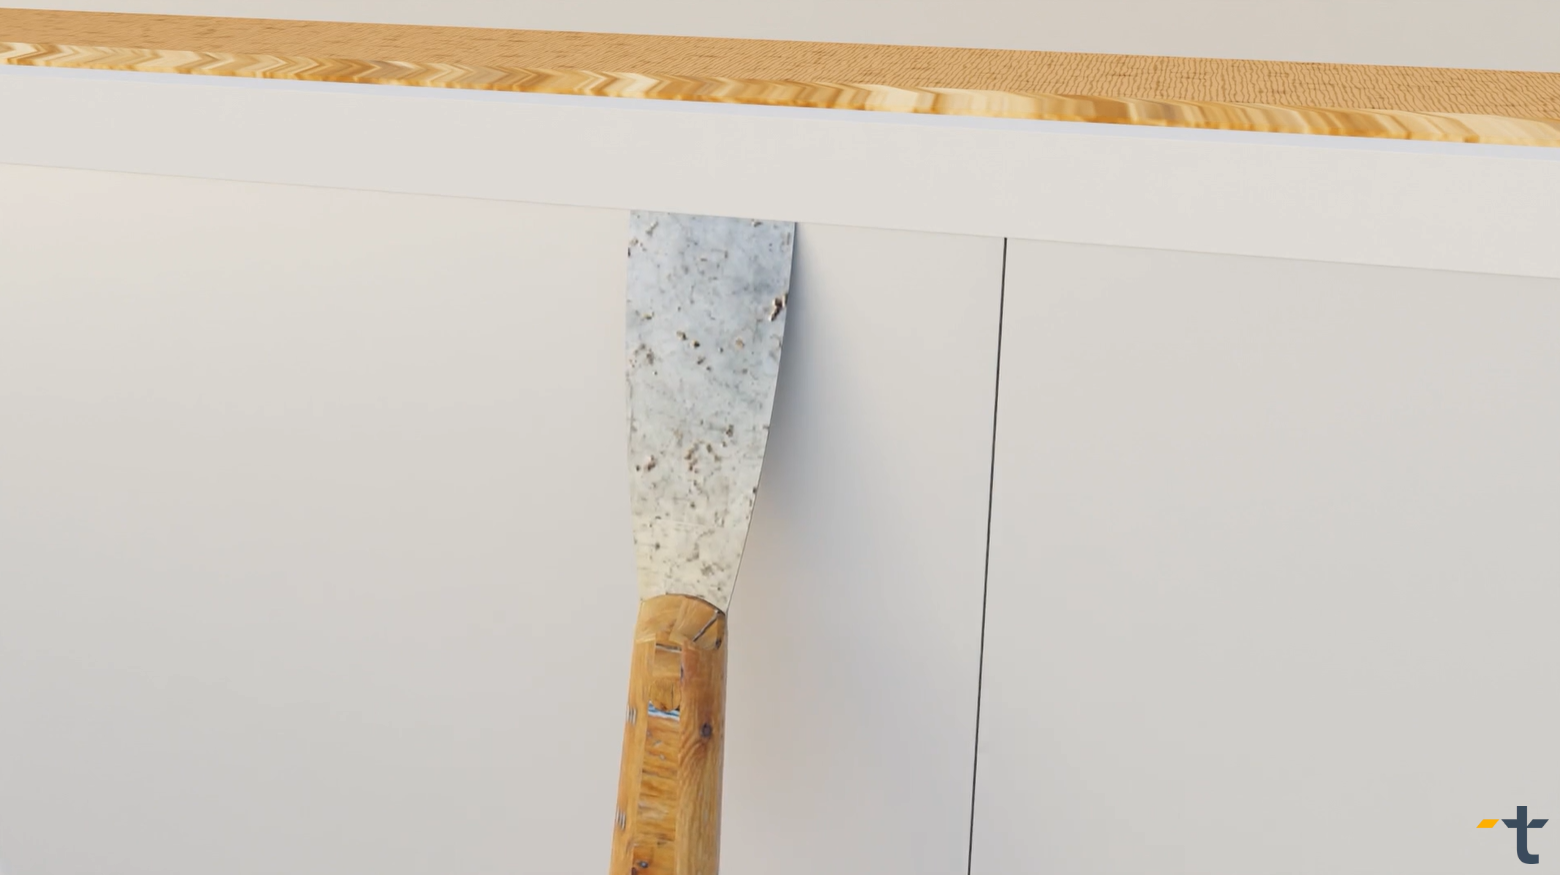
- Using a putty knife or two, gently flex the top, bottom, and corner trim outward to create enough space to insert the panel into all trims.
- Slide the panel back toward the previously installed panel and press firmly until the connection is secure.
- The last panel doesn't need to be fastened—the trims hold it in place.
Following these steps will help you successfully install the last panel, ensuring a professional and seamless finish.

