This post was originally published in June 2022. Last updated: August 2026.
Most homeowners don’t think about drywall until something goes wrong with it. A wall gets painted and the finish underneath disappears from view. That’s exactly the problem: a bad drywall job is often invisible until the paint dries, the light changes, or a few seasons pass and small flaws turn into visible ones.
Whether you just had new drywall installed or you’re touring a home you’re thinking about buying, this guide will help you tell a minor imperfection from a real problem. You’ll find the most common signs of a bad drywall job, what typically causes them, how to inspect a wall like a pro, and what it costs to fix drywall defects, from a quick patch to a full panel replacement.
Common Signs of a Bad Drywall Job
If you search for pictures of bad drywall jobs, you’ll notice the same handful of problems keep coming up: wavy walls, visible tape lines, corners that don’t quite meet. Some people call this a bad sheetrock job instead, since Sheetrock is a well-known drywall brand, but the underlying issues are the same either way. These defects range from installation mistakes that were rushed from the start to flaws that only become visible once paint or certain lighting hits the wall.
Visible seams and joint lines
A properly finished seam should be invisible once the wall is painted. You shouldn’t be able to tell where one sheet ends and the next begins. A faint ridge or shadow line along a seam, especially under certain lighting, usually means the joint compound wasn’t feathered out wide enough, wasn’t sanded properly, or the finishing was rushed. It’s one of the clearest signs of a bad drywall job because it’s easy to miss on a quick walkthrough and impossible to ignore once the sun hits the wall sideways.
Uneven or crooked corners
Inside corners, where two walls meet, and outside corners, where a wall turns at a doorway or partition edge, should be sharp, straight, and consistent from top to bottom. A corner that looks rounded, bowed, or noticeably different from the corner across the room points to a corner bead that wasn’t installed correctly or mud work that wasn’t applied evenly. Crooked corners also throw off trim installation later, so a cosmetic problem can end up complicating the rest of a renovation.
Nail pops and visible fasteners
A nail or screw pop happens when a fastener works loose from the stud behind it and pushes back through the surface, creating a small bump, crack, or dimple in the paint. An occasional pop, especially in an older home, isn’t automatically a sign of bad drywall work. Several pops shortly after a new installation usually mean the fasteners weren’t driven into solid framing, weren’t seated correctly, or were the wrong length for the panel thickness.
Bubbling tape, ridges, and rough texture
A few other defects tend to show up once drywall is painted. Bubbling or blistering tape happens when joint compound is applied too thin or dries too fast to bond properly, and it typically worsens over time. Ridges along a joint point to uneven mud application, while rough texture and visible sanding marks usually mean the final sanding pass was skipped. Any one of these on its own might be minor. Several on the same wall is a strong signal the job wasn’t finished properly.


Understanding Drywall Finish Levels (Why “Bad” Depends on the Room)
Before you decide a drywall job is bad, it helps to know that not every wall is supposed to look the same. The drywall industry uses a finish-level system, developed by the Gypsum Association, that sets a different standard depending on how a space is used, lit, and covered. A wall behind a workbench in the garage isn’t held to the same standard as a living room wall under a row of pot lights, and it shouldn’t be.
Levels 1–3: garages, attics, and utility spaces
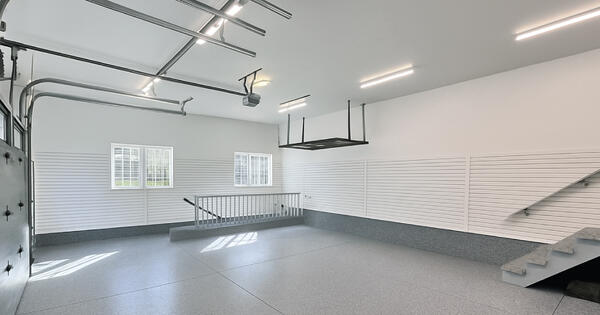
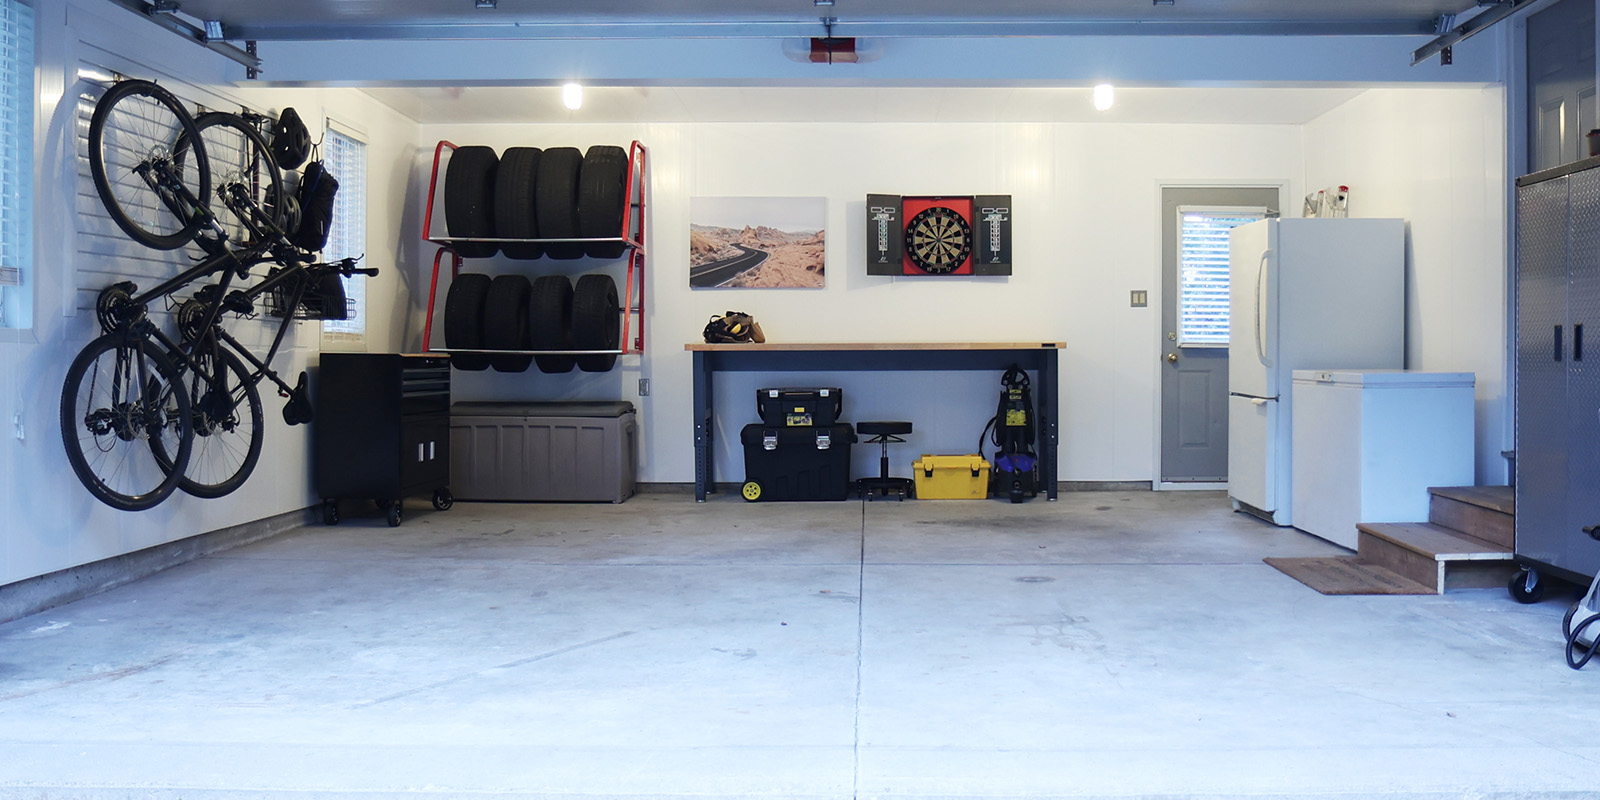
Level 1 is the most basic finish: tape embedded in joint compound with nothing else, typically used in spaces that stay hidden, like above a drop ceiling. Level 2 adds a thin coat of compound over the tape and fasteners and is common in garages, storage areas, or anywhere the wall will later be covered with tile, paneling, or heavy texture. Level 3 adds a second coat and is often used where a heavy texture finish will hide minor imperfections. If a garage wall in your home has recurring moisture or damage problems on top of an already low finish level, it may be worth comparing drywall alternatives for garage walls rather than paying to refinish a space that was never built to a polished standard.
Levels 4–5: living spaces and painted walls
Level 4 is the standard most homes are finished to: two coats of compound over the tape and three over the fasteners, sanded smooth and ready for flat or eggshell paint. Level 5 adds a full skim coat over the entire surface and is reserved for spaces with critical lighting or glossier paint sheens that expose every imperfection. If a Level 4 finish was applied where the room’s lighting really called for Level 5, seams can show through even when the drywall was technically finished to spec. That’s a specification mismatch as much as a workmanship problem. Not every room needs a Level 5 finish, and paying for one where it isn’t needed doesn’t make sense either.
What Causes a Bad Drywall Job?
A bad drywall job is rarely the result of one mistake. It’s usually a combination of who did the work, how much time they had, and what materials were used.
Inexperienced or rushed labor
Drywall finishing is a skill that takes years to genuinely master, particularly the taping and mudding stages. An inexperienced installer might apply compound unevenly, fail to feather seams out wide enough, or skip a sanding pass to save time. Rushed timelines make this worse: joint compound needs time to dry fully between coats, and a crew under pressure to move on may apply a second coat before the first is ready, a common cause of the bubbling, cracking, and uneven texture that shows up later.
Wrong materials for the space
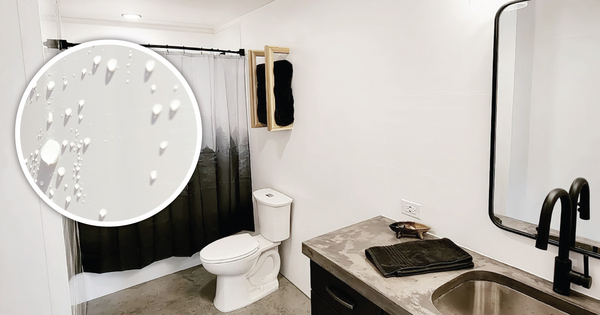
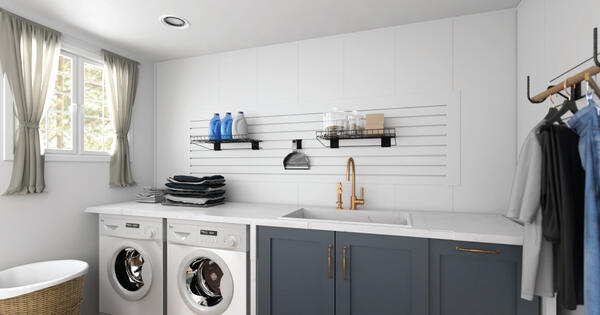
Not every drywall problem comes down to installation. Sometimes the material itself wasn’t the right choice for the room. Standard drywall absorbs moisture, and in spaces with high humidity, temperature swings, or direct water exposure, that absorption leads to warping, staining, and eventually mold, regardless of how carefully the taping and mudding were done. This is a real limitation of the material in certain applications, not a knock against every drywall installation. A wall finished perfectly in a dry, climate-controlled room can still fail in a basement or laundry room simply because the material wasn’t suited to that environment. If moisture is a recurring issue in your home, it’s worth reading about the disadvantages of drywall before deciding whether to repair or replace it.
How to Inspect Drywall Work like a Pro
You don’t need special equipment to spot a bad drywall job. The techniques a professional uses rely on nothing more than a light source, your hand, and a bit of patience.
Side-lighting and hand-feel tests
Shine a flashlight or work light across the wall at a low, shallow angle rather than straight on. This raking light exaggerates shadows, which makes ridges, seams, and uneven patches far more obvious than they are under normal overhead lighting. Natural morning or late-afternoon sun coming in low through a window works the same way. Once you’ve checked visually, run your open hand flat across the surface. A properly finished wall should feel smooth and even; lumps, ridges, or sanding grooves are things your hand will pick up on even when your eyes don’t.
A fair inspection checklist
Once you’ve got a light source and a few minutes, work through the wall methodically rather than just glancing at it. This checklist covers the defects that come up most often and gives you a practical way to confirm whether what you’re looking at is a normal imperfection or a genuine problem:
- Seams: run raking light along every seam and look for a visible ridge, shadow, or discoloration
- Corners: check that inside and outside corners are straight, sharp, and consistent from wall to wall
- Fasteners: look for small dimples, bumps, or cracks where screws or nails were driven
- Surface: feel for lumps, waves, or grooves with a flat hand across several sections of the wall
- Texture: compare texture consistency across the whole wall, not just one corner
- Squareness: hold a level or framing square against a corner to confirm the walls actually meet at 90 degrees
- Finish level: consider whether the room’s finish level matches its use and lighting before assuming the worst
If several of these turn up problems in the same room, that’s a reasonable signal the drywall work wasn’t done to standard, and it may be worth a second opinion before painting or moving forward.
Can a Bad Drywall Job Be Fixed? What It Costs
Most drywall problems are repairable. A bad drywall job doesn’t automatically mean tearing out the wall and starting over. The right fix, and the price tag that comes with it, depends heavily on how extensive the drywall damage is and whether it’s purely cosmetic or something that goes deeper into the panel or the framing behind it.
Minor cosmetic fixes
If the problems are limited to a handful of nail pops, a small dent, a hairline crack, or one or two visible seams, this is patch-and-repaint territory. Nail pops and small dents typically cost $10 to $60 in materials if you handle them yourself, or roughly $100 to $300 if you bring in a pro for a small handful of spots, since most contractors have a minimum charge to cover setup and travel even for tiny jobs. A single hairline crack from normal settling runs about $60 to $150 to patch and blend, while a longer or wider crack that needs mesh tape and multiple coats can run closer to $400. Taken together, a small to moderate repair job covering a few defects in one room typically lands in the $300 to $600 range nationally, though your actual price will vary by region and by how closely the repair needs to match existing texture and paint sheen.
Full panel replacement
If you’re dealing with widespread cracking, warping, water damage, or panels that were installed poorly behind the surface, patching isn’t a lasting fix. Replacing the affected sections, or the whole wall, usually makes more sense than chasing problems one at a time.
The drywall installation cost for a full hang-tape-mud-sand job, finished to the Level 4 standard most homes use, typically runs $1.50 to $3.50 per square foot nationally, covering materials and labor but not primer or paint. For context, that puts a standard 12-by-12-foot room somewhere between $580 and $1,800 depending on your region, the finish level specified, and how accessible the space is. Larger projects, like an entire basement or a full-house redo, can run several thousand dollars once you factor in demolition and disposal of the old drywall, moisture remediation if that was part of the original problem, and the priming and painting that follows. A written quote that breaks out materials, labor, and finishing separately is the best way to understand exactly what you’re paying for.
How Trusscore Wall&CeilingBoard Solves a Bad Drywall Job
Whether you’re trying to avoid a bad drywall job before it happens or you’re already looking at one on your wall, Trusscore Wall&CeilingBoard addresses both situations. The panels remove the finishing steps that cause most bad drywall jobs in the first place, and they can install directly over problem drywall that’s already there.
Skip the taping, mudding, and sanding
Nearly every defect covered in this guide, visible seams, bubbling tape, uneven texture, traces back to the taping and mudding process. Trusscore Wall&CeilingBoard arrives prefinished, so there’s no joint compound to apply, no drying time between coats, and no sanding pass to rush or skip. The finish quality isn’t dependent on how skilled or careful the installer was with a trowel, because there isn’t a trowel involved. For a new installation, that removes the entire category of problems this guide walks through.
Cover a bad drywall job without tearing it out
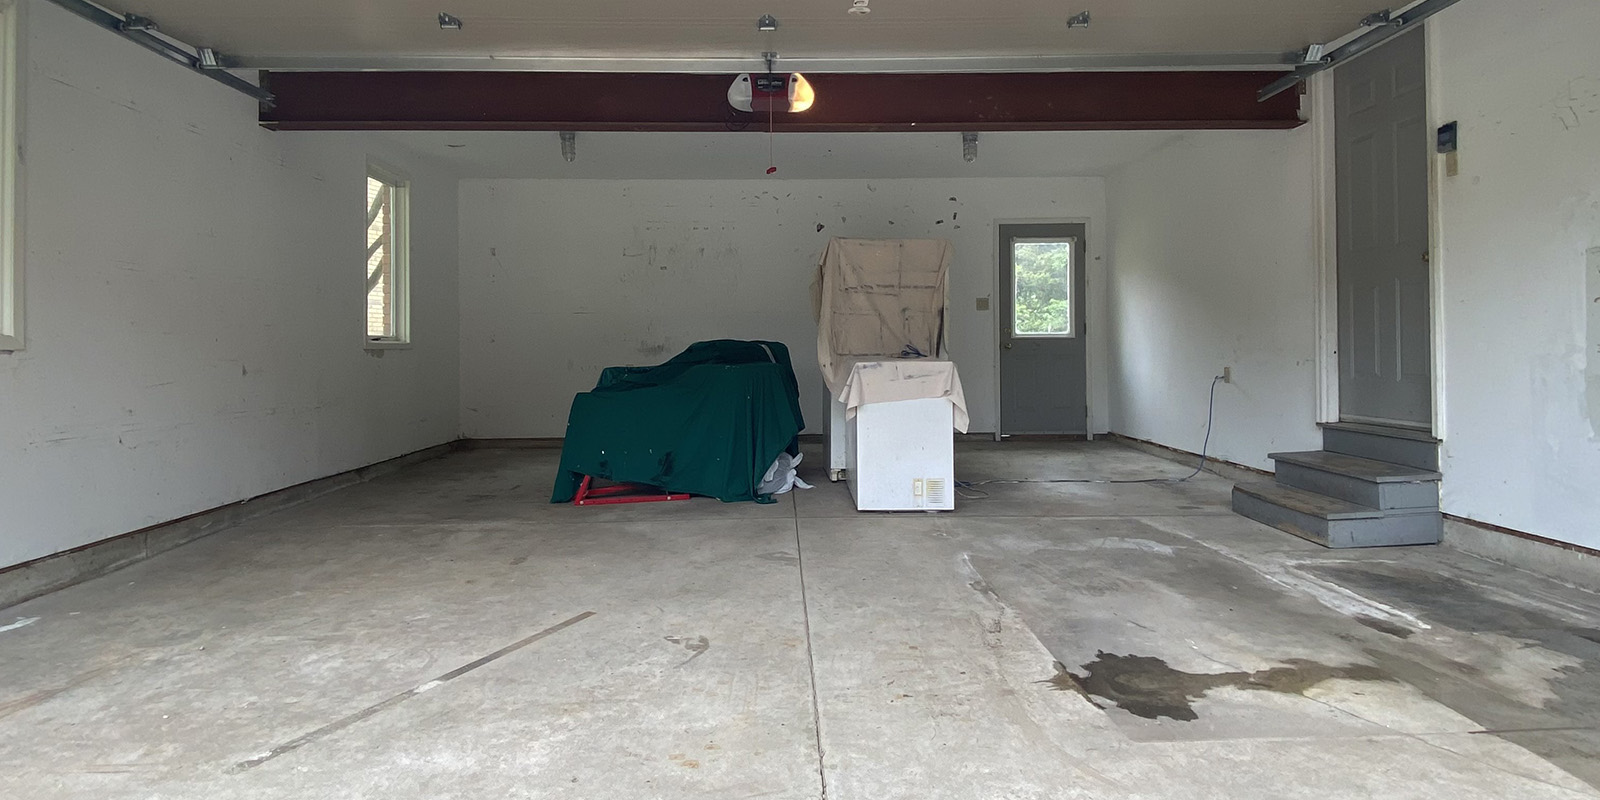
If the drywall problem is already on your wall, Trusscore Wall&CeilingBoard installs directly over existing drywall, not just bare studs, which means you don’t have to demo and haul away the damaged panels first. That can make a real difference in cost, since demolition and disposal are part of what pushes a full drywall installation cost into the $1.50 to $3.50 per square foot range covered earlier. Installers still need to locate the studs behind the existing wall before fastening, so a stud finder is part of the process either way. This approach works best for cosmetic problems, bad seams, uneven texture, visible fastener pops, rather than drywall that’s dealing with water damage or mold. If moisture caused the original problem, that needs to be resolved before anything goes over top of it, or the new surface will just be hiding an issue that’s still active behind the wall.
Swipe to transform
FAQ
How do I fix a bad mud job on painted drywall?
Start by sanding down any high spots or ridges, then apply a thin, feathered coat of joint compound over the problem areas, letting it dry fully before sanding again and priming. For a wall that’s already painted, prime the repaired sections before repainting, or the new compound will flash through as a duller patch once it’s dry. This works well for seams, small ridges, and localized texture issues. If the damage covers a large area, involves warped panels, or keeps cracking in the same spot, the problem likely goes deeper than the mud job itself, and it’s worth bringing in a professional rather than continuing to patch over it.
Is drywall cracking always a bad sign?
No. A short hairline crack near a corner or above a doorway is often just normal settling, especially in a newer home, and it can usually be patched without much concern. Cracks become more of a red flag when they’re wide, run diagonally across a wall, keep coming back after repair, or show up alongside symptoms like sticking doors or gaps at the ceiling line, which can point to foundation movement rather than a drywall issue. Cracking tied to moisture, marked by staining or a soft, spongy feel around the crack, is a different problem entirely and usually means water is getting into the wall.
What does a good drywall job look like compared to a bad one?
A good drywall job has seams and corners you genuinely can’t find without raking light, a surface that’s smooth and consistent when you run your hand across it, and texture that matches from one section of the wall to the next. A bad drywall job tends to show visible joint lines, corners that aren’t quite square, nail pops within the first year, and texture that changes noticeably in different spots on the same wall. The difference usually comes down to whether the finishing steps, taping, multiple coats of mud, and proper sanding, were given the time they needed.
How much does it cost to fix bad drywall work?
For minor issues like a few nail pops or a small crack, expect to spend $100 to $600 depending on how many spots need attention and whether you hire a pro or do it yourself. Full panel replacement runs $1.50 to $3.50 per square foot for materials and labor, which works out to roughly $580 to $1,800 for an average 12-by-12 room, and considerably more for larger spaces or projects that involve tearing out and disposing of the old drywall. Location, contractor availability, and how closely the repair has to match existing texture and paint all affect where you land within those ranges.
Catching a bad drywall job early is what keeps a cosmetic problem from turning into an expensive redo. The sooner you identify visible seams, uneven corners, or a handful of nail pops, the more likely you are to be looking at a quick, affordable fix rather than a full tear-out.
Sometimes the issue comes down to workmanship. Other times, it’s the material itself struggling in a space it was never well suited for, like a basement, laundry room, or garage where moisture is a constant factor. If you’d rather skip the taping, mudding, sanding, and painting the next time around, Trusscore Wall&CeilingBoard is worth a look. It’s a prefinished wall and ceiling panel that installs directly over studs with no finishing steps required, so there’s no waiting on drying time and no guessing whether the crew got the mud work right.
See how it stacks up against traditional drywall, and decide for yourself whether it’s the better fit for your next project.