This post was originally published February 2023. Last updated: February 2026.
Building a dock is one of the most rewarding upgrades you can make to a waterfront property — but it’s also one of the most complex. Whether you’re working on a lakefront cottage, a backyard pond, or an oceanfront lot, dock construction involves careful planning, solid knowledge of local conditions, and the right materials.
This guide covers everything you need to know about how to build a dock in 2026 — from choosing the right dock type and navigating permits to selecting materials and tackling a DIY floating dock build.


Understanding Dock Types
Before starting any dock construction project, you need to decide which type fits your property, water conditions, and intended use. Each type has its own advantages and cost considerations.
Fixed Docks
A fixed dock — also called a stationary dock — is permanently anchored to the bottom of the body of water. These docks are typically built from wood or concrete at a set height above the waterline. Because they’re so stable, they’re a popular choice for adding features like benches, gazebos, and boat lifts. Fixed docks work best in calm water with a firm bottom and consistent water levels.
Floating Docks
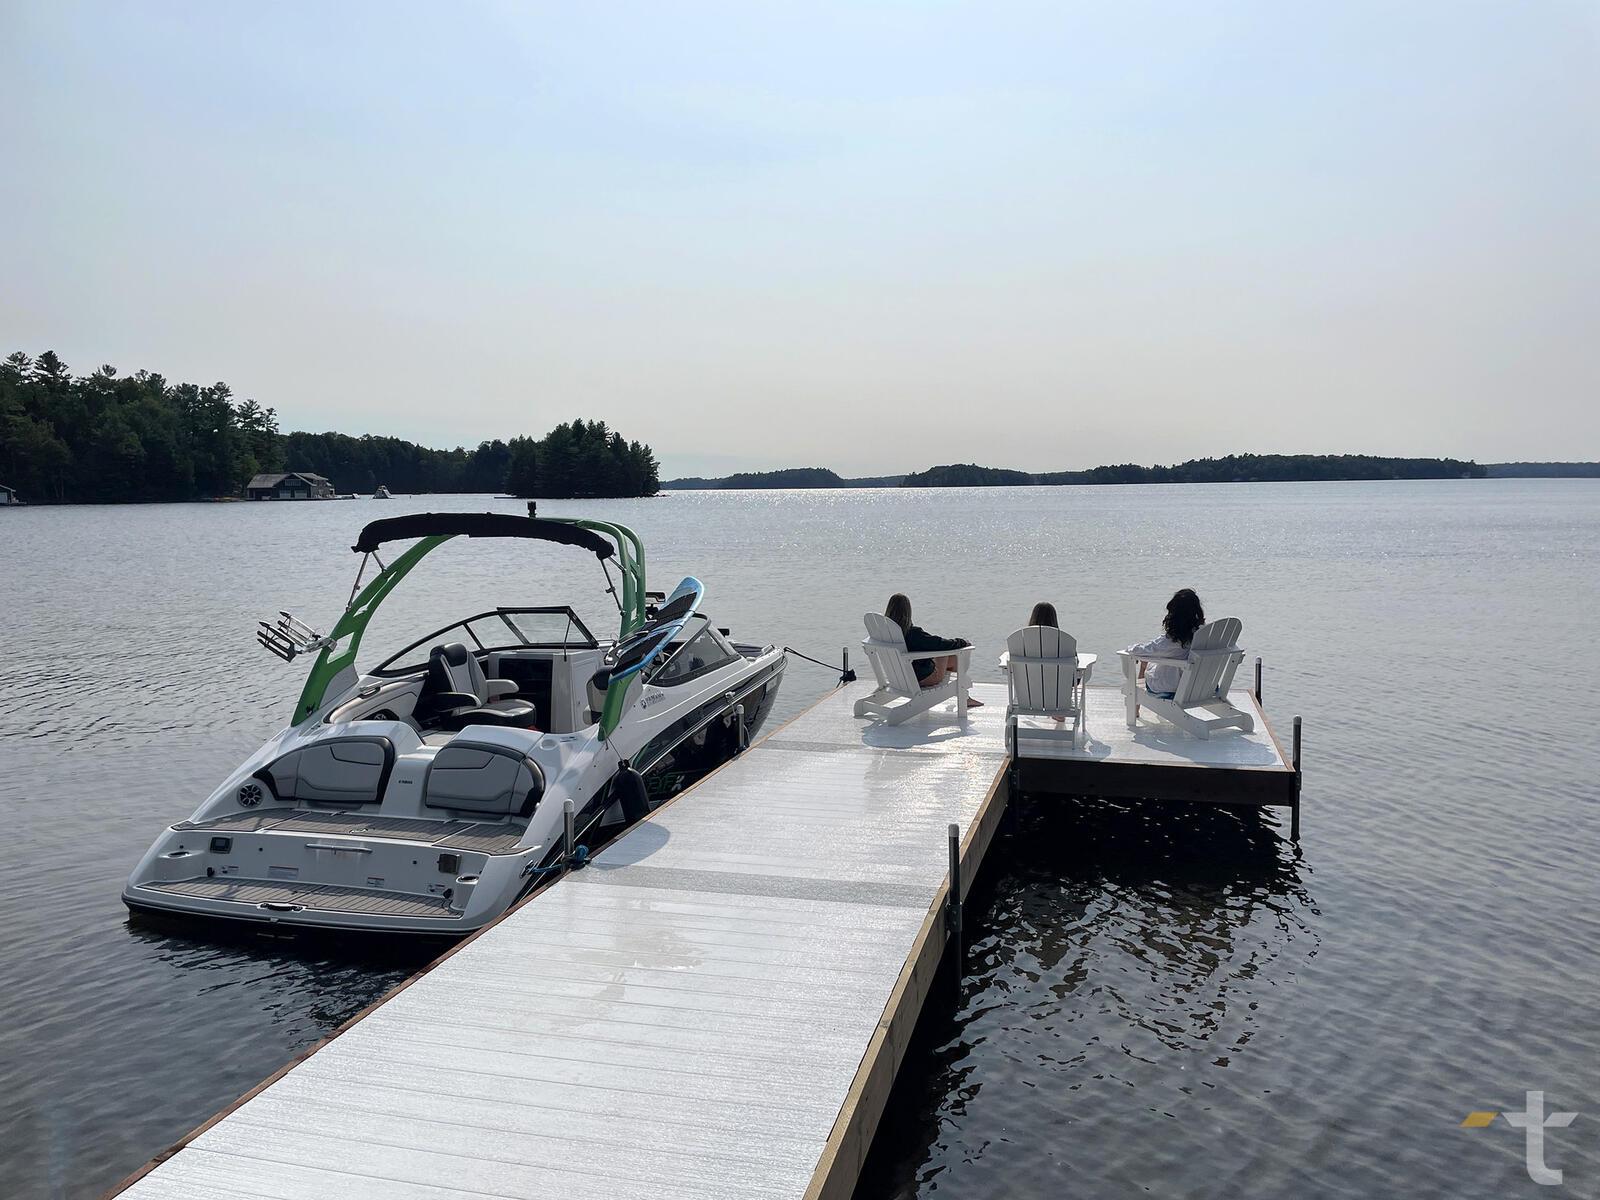
A floating dock sits on top of the water rather than being anchored to the bottom. It uses sealed drums, pontoons, or air-filled chambers for buoyancy and is secured to shore with hinged ramps or anchoring chains. Floating docks are ideal for locations with fluctuating water levels, soft or muddy bottoms, and deeper water. They’re also a smart choice for a pond dock, where conditions can vary. If you’re thinking about building a floating dock as a DIY project, this type is the most accessible for homeowners.
Pier Docks
Pier docks (also called pile docks) are a type of fixed dock supported by vertical posts driven deep into the lakebed or ocean floor. They’re extremely durable and handle heavy loads and rough water well. Because the pilings need to reach firm substrate, professional installation is almost always required.
Crib Docks
Crib docks use large, open-frame wooden or metal boxes (cribs) that are sunk into position and filled with rocks for anchoring. The decking surface is built on top. They’re exceptionally stable in strong currents but labor-intensive to build and may require environmental permits.
Suspension Docks
Suspension docks hang above the water from overhead cables or support structures mounted on shore. They’re less common in residential settings but can work well on steep banks, rocky coastlines, or protected wetland areas. Because they don’t disturb the waterbed, they can be easier to permit in environmentally sensitive locations.
Dock Permits, Regulations, and Approvals
One of the most overlooked parts of dock building is permitting. Depending on where you live, you may need approvals at multiple levels before starting.
Here’s a general overview of what to expect:
- Federal regulations: In the U.S., the Army Corps of Engineers regulates structures in navigable waterways. In Canada, Fisheries and Oceans Canada oversees projects affecting fish habitat.
- State and provincial rules: Many jurisdictions have shoreline management acts that dictate how far your dock can extend, what materials you can use, and whether you need a site inspection.
- Local bylaws and zoning: Municipal governments often have specific bylaws on dock size, setbacks, and commercial use. Check with your local building department first.
Always start the permit process early. In some jurisdictions, approvals can take months, and building without permits can result in fines or removal orders.
Choosing the Right Location for Your Dock
Where you place your dock matters as much as how you build it. Several factors will influence your decision:
- Water depth: Water over four feet deep generally favors a floating dock. Shallower water works well for fixed docks. Very deep water calls for pier docks.
- Water level fluctuations: If levels rise and fall through the season, a floating dock stays with the surface. Fixed docks can end up submerged or stranded.
- Local weather: Areas prone to storms and flooding favor floating docks, which move with the water rather than fighting it.
- Boat traffic: Busy waterways generate constant waves. Floating docks absorb this movement naturally.
- Bottom conditions: Sand, silt, and mud can’t support fixed dock pilings. Rock and clay are ideal for fixed structures.
Materials for Dock Construction
The decking material you choose has a major impact on your dock’s lifespan, maintenance, and performance. Here’s a breakdown of the most common options:
Wood Dock
Pressure-treated wood remains the most popular choice for dock construction due to its low upfront cost and wide availability. Cedar, redwood, and treated pine are all common options. However, a wood dock requires significant ongoing maintenance — wood is prone to splintering, warping, and rotting, especially in constant contact with water. You’ll need to stain or seal the surface every one to two years, and you should confirm any treated wood is rated safe for aquatic environments.
Composite Options
Composite dock decking blends wood fibers with polypropylene, polyethylene, or crushed minerals. It’s available in a range of colors and textures, lasts longer than wood, and doesn’t require staining or sealing. The trade-off is higher upfront cost, and if the blend includes organic material, it may still be susceptible to mold and mildew. It’s also heavier than PVC, which can complicate installation on floating dock frames.
Metal and Aluminum
Aluminum and steel are both used in dock building, though aluminum is more common residentially. Aluminum won’t rot, splinter, or corrode like wood or steel, and it’s lightweight enough for seasonal removal. Steel is stronger and resists warping from heavy wave action, but it’s heavier and rust-prone. Both metals get extremely hot in direct sunlight — worth considering if you plan to go barefoot.
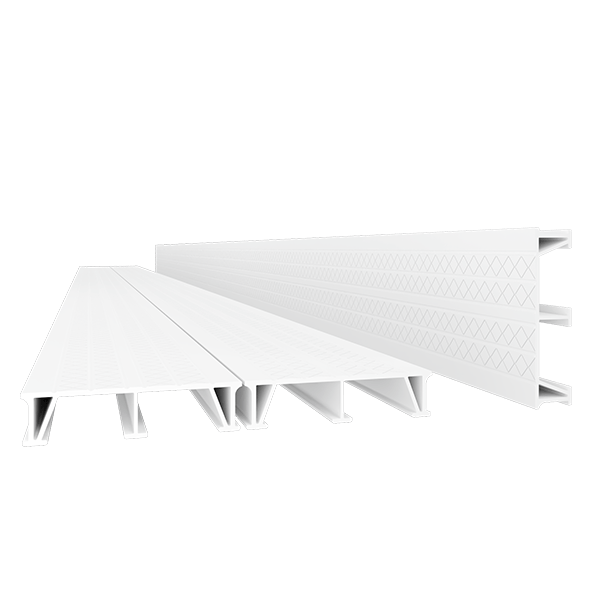
PVC Dock Materials
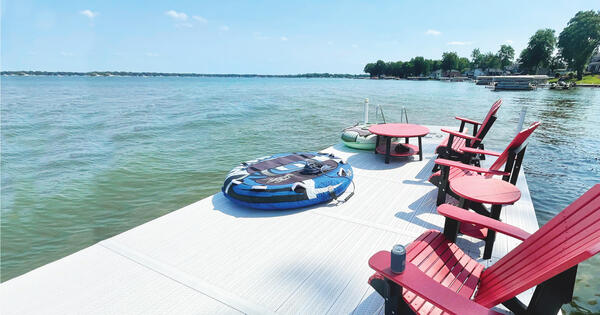
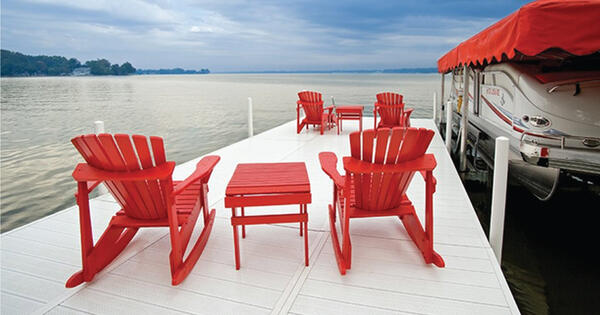
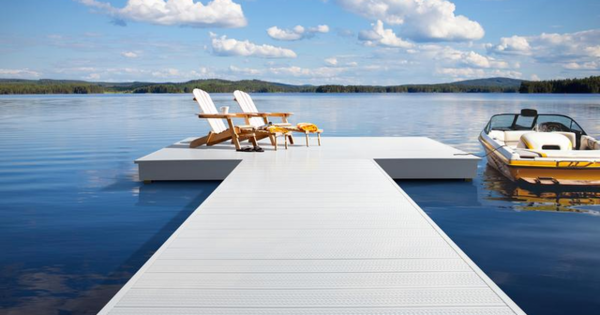
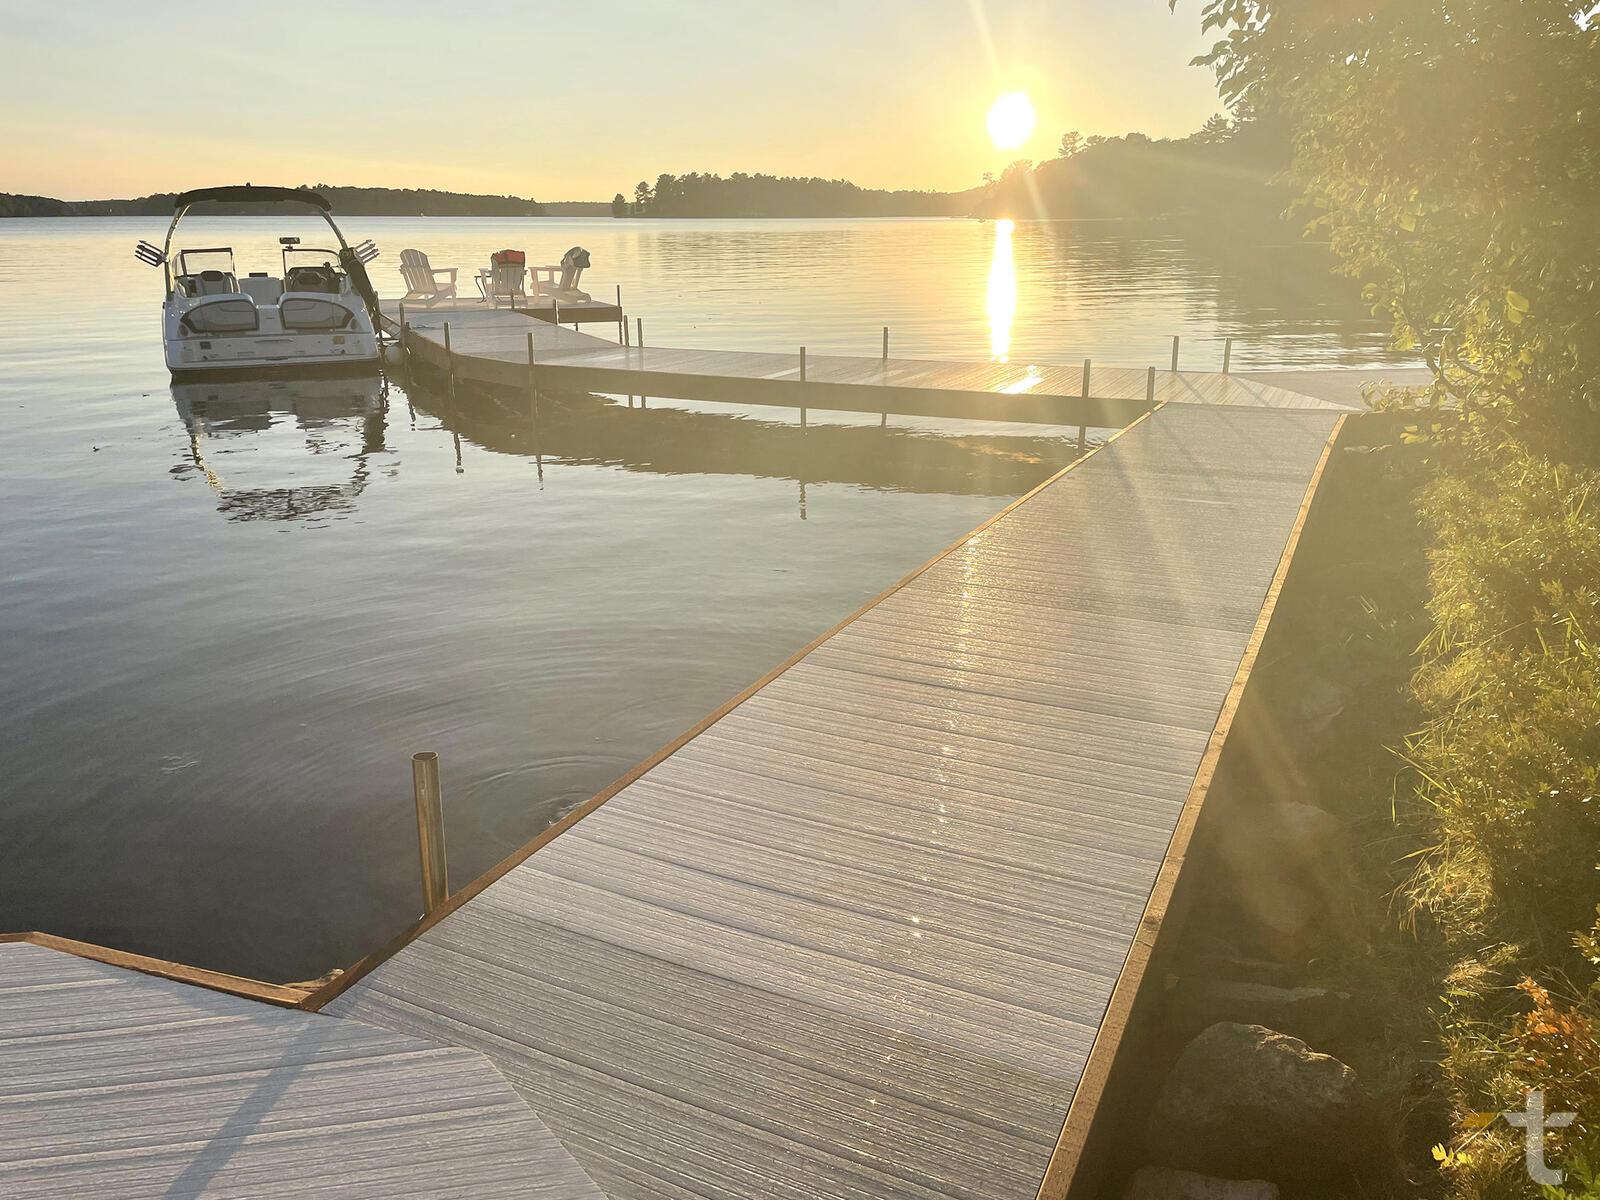
PVC dock decking — like DockDeck by Trusscore — is fully moisture-resistant, meaning it won’t grow mold or mildew and won’t absorb water. It’s lightweight, durable, and easy to clean. In hot weather, PVC stays cool to the touch, and it won’t rot, splinter, or warp. It’s available in a range of colors and textures. The DockDeck installation gallery showcases completed projects that highlight the material’s versatility and professional finish.
Material Performance Comparison Table
Here’s how the four main dock decking materials compare:
| Feature | Wood | Composite | Metal/Aluminum | PVC |
|---|---|---|---|---|
| Durability | Low to Medium | Medium to High | High | High |
| Maintenance | High (annual staining/sealing) | Low to Medium | Low | Very Low |
| Moisture Resistance | Low | Medium | High | High |
| Heat Retention | Moderate | Moderate to High | Very High | Low (stays cool) |
| Mold/Mildew Risk | High | Medium | None | None |
| Weight | Heavy | Heavy | Light (aluminum) | Light |
| Lifespan | 10 to 15 years | 20 to 30 years | 30+ years | 30+ years |
Dock Cost Considerations and Budget Planning
Dock construction costs vary widely depending on dock type, materials, and site complexity. Understanding both upfront and long-term costs will help you plan effectively.
Material Cost Comparison Table
Approximate material costs per square foot for common dock decking options (not including framing, hardware, or labor):
| Material | Approx. Cost per Sq. Ft. | Notes |
|---|---|---|
| Pressure-Treated Wood | $3 to $8 | Lowest upfront; highest maintenance |
| Cedar/Redwood | $6 to $12 | Naturally rot-resistant; moderate maintenance |
| Composite | $8 to $15 | Good lifespan; heavier than PVC |
| Aluminum | $10 to $20 | Lightweight; gets hot in sun |
| PVC (e.g., DockDeck) | NEED PRICING | Low maintenance; stays cool; long lifespan |
Long-Term Maintenance Cost Overview
Upfront cost is only part of the picture. Over 20 years, a wood dock requires repeated staining, sealing, and board replacement. Composite and PVC cost more initially but save thousands in maintenance. Factor in total cost of ownership — durable materials like PVC can pay for themselves within five to ten years.
Step-by-Step: How to Build a Dock
Whether you’re building a fixed dock or a DIY floating dock, having the right plan and tools makes all the difference.


Tools and Materials You’ll Need
The exact list varies by dock type, but here are the essentials:
- Tape measure, level, and chalk line
- Circular saw or miter saw
- Drill/driver with appropriate bits
- Galvanized or stainless steel screws and hardware
- Framing lumber (pressure-treated for water contact)
- Decking material of your choice
- Dock floats or pontoons (for floating docks)
- Anchoring hardware and safety gear
Step-by-Step Guide for Fixed Docks
Fixed dock construction typically requires professional help. Here’s a high-level overview:
- Survey and plan: Assess your shoreline, water depth, and bottom conditions. Secure all necessary permits.
- Set your posts or pilings: Drive posts into the waterbed until they reach firm substrate, typically spacing them four to six feet apart.
- Install the frame: Attach stringers and cross bracing between posts to create a level framework.
- Lay the decking: Secure decking material to the frame using corrosion-resistant fasteners with small gaps for drainage.
- Add finishing touches: Install cleats, bumpers, ladders, and accessories. Inspect all connections before use.
Step-by-Step Guide for Floating Docks (DIY-Focused)
Building a floating dock is the most approachable DIY project for homeowners. Here’s how to build a floating dock:
- Design your dock: Decide on dimensions. A common residential floating dock is 4 feet wide by 8 to 16 feet long. Check local regulations for size restrictions.
- Build the frame: Construct a rectangular frame from pressure-treated 2x6 or 2x8 lumber with interior joists every 16 inches on center.
- Attach flotation: Secure dock floats or sealed drums to the underside of the frame, evenly positioned to distribute weight and keep the dock level.
- Install the decking: Lay your decking material across the frame. PVC options like DockDeck by Trusscore are well-suited for floating docks because they’re lightweight and moisture-resistant.
- Launch and anchor: Move the dock into the water. Secure it to shore with a hinged ramp and anchor the outer end with chains, auger anchors, or weighted blocks.
- Test and adjust: Walk the dock to check stability. Adjust float positioning or add buoyancy as needed.
A standard 4x8-foot DIY floating dock section can typically be completed in a weekend with two people. For a pond dock, you can often use a simpler anchoring system since wave action is minimal.
Environmental and Site Factors for Docks
Your local environment plays a critical role in dock construction. Understanding these factors upfront helps you avoid costly mistakes:
- Water depth and bottom conditions: Soft, silty bottoms limit fixed structures. Rocky or clay bottoms provide strong foundations for pilings.
- Wave exposure and weather: Docks in exposed locations may benefit from floating designs that move with the water.
- Aquatic vegetation and wildlife: Environmental regulations may protect submerged vegetation and fish habitat, requiring your design to minimize bottom disturbance.
- Shoreline slope: A steep or unstable shoreline may need additional engineering for the land-to-water transition.
Ice, Freeze, and Winter Considerations
If you’re building a dock in a cold climate, ice and freeze cycles are a major factor. Ice exerts enormous pressure on dock structures, and freeze-thaw cycles can weaken materials and connections over time. Here are key considerations:
- Seasonal removal: Floating docks should be removed before freeze-up and relaunched in spring to avoid ice damage.
- Ice-resistant pilings: Fixed docks should use pilings designed to resist ice heave, such as steel-jacketed pilings or pilings with anti-ice collars.
- Material choice: Wood is especially vulnerable to freeze-thaw damage because it absorbs water. PVC and aluminum handle cold conditions much better.
- De-icing systems: Bubblers or de-icing systems can keep ice from forming around fixed dock structures by circulating warmer water from below.
- Spring inspections: After winter, inspect all connections, fasteners, and structural members for signs of heaving, shifting, or cracking.
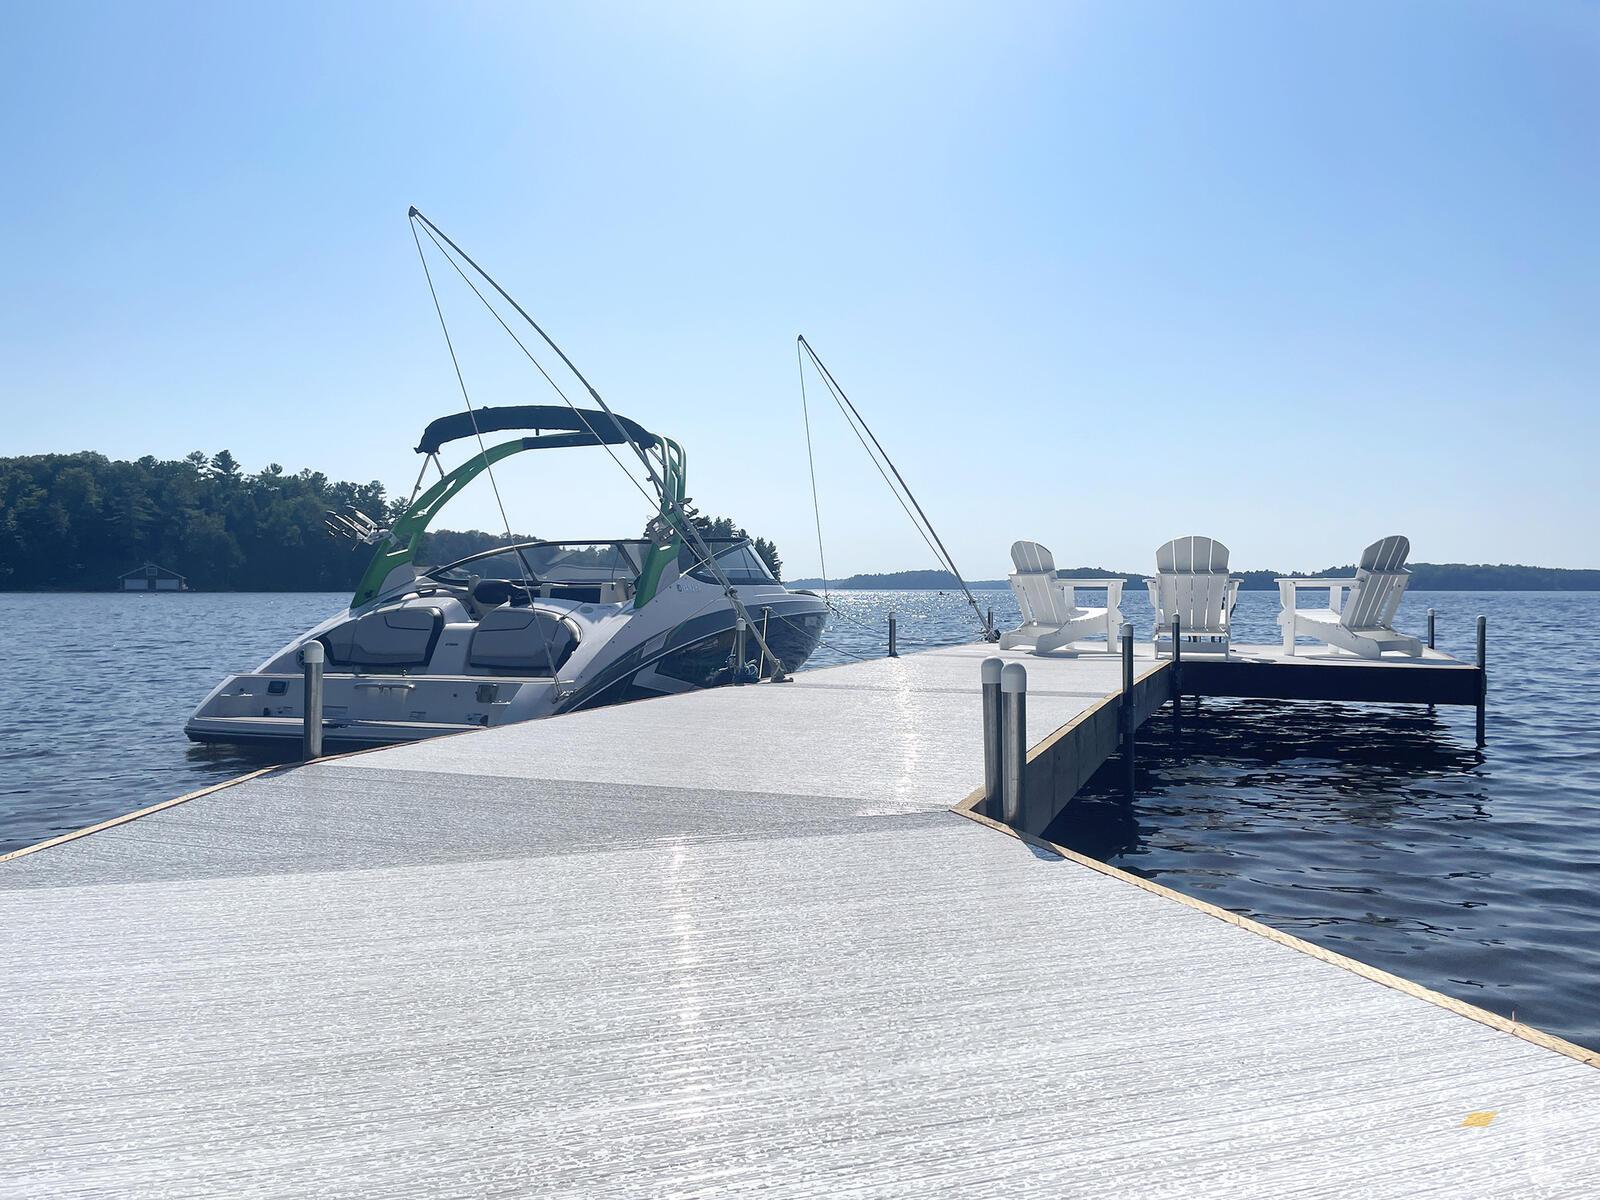
Contractor Spotlight: Jim Boshart
Jim Boshart, principal of Boshart Construction, is an experienced dock builder based in Ontario, Canada. He’s completed seven docks on Sunfish Lake, just northwest of Waterloo, and has been hired for three more.
“All docks are different,” he says. “What’s unique about Sunfish Lake is it’s small, but it’s quite deep — about 66 feet — and the bottom is all mud and peat.”
The soft bottom and sharp drop-off made a pier dock the clear choice. Boshart drives piers 11 to 15 feet into the substrate, with posts spaced four to five feet apart. The lake’s consistent water level also favors a fixed structure — on lakes with wide fluctuations, a floating dock would’ve been more practical.
Boshart has used DockDeck by Trusscore on recent projects, appreciating its light weight, ease of installation, and strong performance against constant moisture exposure. The DockDeck installation gallery features several completed Sunfish Lake projects that demonstrate the material’s clean, professional finish.
Dock Repairs, Upgrades, and Maintenance Tips
Even a well-built dock needs attention over time. Regular maintenance extends dock life and prevents small issues from becoming expensive repairs.
- Inspect annually: Check structural connections, fasteners, and decking for wear, corrosion, or damage.
- Replace damaged boards promptly: A single rotting board can compromise surrounding areas.
- Upgrade your decking: If your wood surface is deteriorating, consider replacing with PVC decking like DockDeck for a longer-lasting, low-maintenance surface.
- Clean regularly: Use soap and water to remove algae and debris.
- Check flotation: On floating docks, inspect floats for cracks, leaks, or loss of buoyancy and replace compromised components.
FAQs about How to Build a Dock
How long does it take to build a dock?
A simple DIY floating dock can be completed in a weekend. A fixed or pier dock typically takes one to two weeks depending on site conditions and crew size. Complex projects may take longer.
What’s the best material for a pond dock?
PVC decking is one of the best choices for a pond dock because it resists moisture, mold, and mildew while staying cool to the touch. It’s also lightweight, making it ideal for a floating dock for a pond.
How do you maintain a floating dock?
Inspect flotation components for leaks, check anchoring hardware, clean the deck surface, and remove the dock before winter in cold climates. Low-maintenance decking like PVC reduces the ongoing effort significantly.
What’s the cheapest way to build a dock?
A small DIY floating dock with a pressure-treated frame and sealed drum floats is the most affordable option — roughly $500 to $2,000 for a basic 4x8-foot section. Cheaper materials tend to need more maintenance, though.
How do you build a dock in deep water?
Floating docks and pier docks are the two main options. Floating docks don’t interact with the bottom, making them well-suited to deep-water sites. Pier docks can work if pilings are driven deep enough to reach stable substrate, but this requires professional equipment and adds cost.
Do you need a permit to build a dock?
In most jurisdictions, yes. Federal, state or provincial, and local regulations may all apply. Always check with your local building department before starting construction.
Learning how to build a dock means understanding your site, choosing the right dock type, selecting lasting materials, and navigating permits before driving a single nail. Whether it’s a DIY floating dock for a backyard pond or a professional pier dock build, the principles are the same: plan thoroughly, use quality materials, and think long-term. For a decking material that combines durability, low maintenance, and comfort, DockDeck by Trusscore continues to be a top choice in 2026.


Products for Docks
DockDeck
DockDeck by Trusscore is a high-performing and sustainable alternative to composite decking, pressure treated wood, and aluminum that will look its best for decades to come.
Learn More